
Bike Pack Essentials
Most bike shops or riding buddies can clue you in on the basics that should be in your riding pack: A multi-tool (see pics below) to make adjustments to the bike out on the trail; a spare tube to fix a flat tire (flat tires are one of the most common and easily remedied mechanical problems that mountain bikers will encounter on the trail); probably a light jacket just in case the weather turns a bit; maybe a bite to snack on…Pretty simple, right? Also, your car keys, phone, and your hydration liquid of choice, etc…
However, if you are going to carry a pack—which you probably should if you’re going to be riding any distance from you’re car, home, hotel, etc.—there are a few little tid-bits that you probably want to throw in there and these things probably won’t be recommended to you by that local bike shop or your riding buddies. These are all Bike Pack Essentials that I carry in my pack and they fall under the category of “learned this the hard way” because I’ve been on a ride or two when I really needed them…but, of course, didn’t have them with me at the time.
Before we get into the contents, let’s start with the preferred size of your pack.
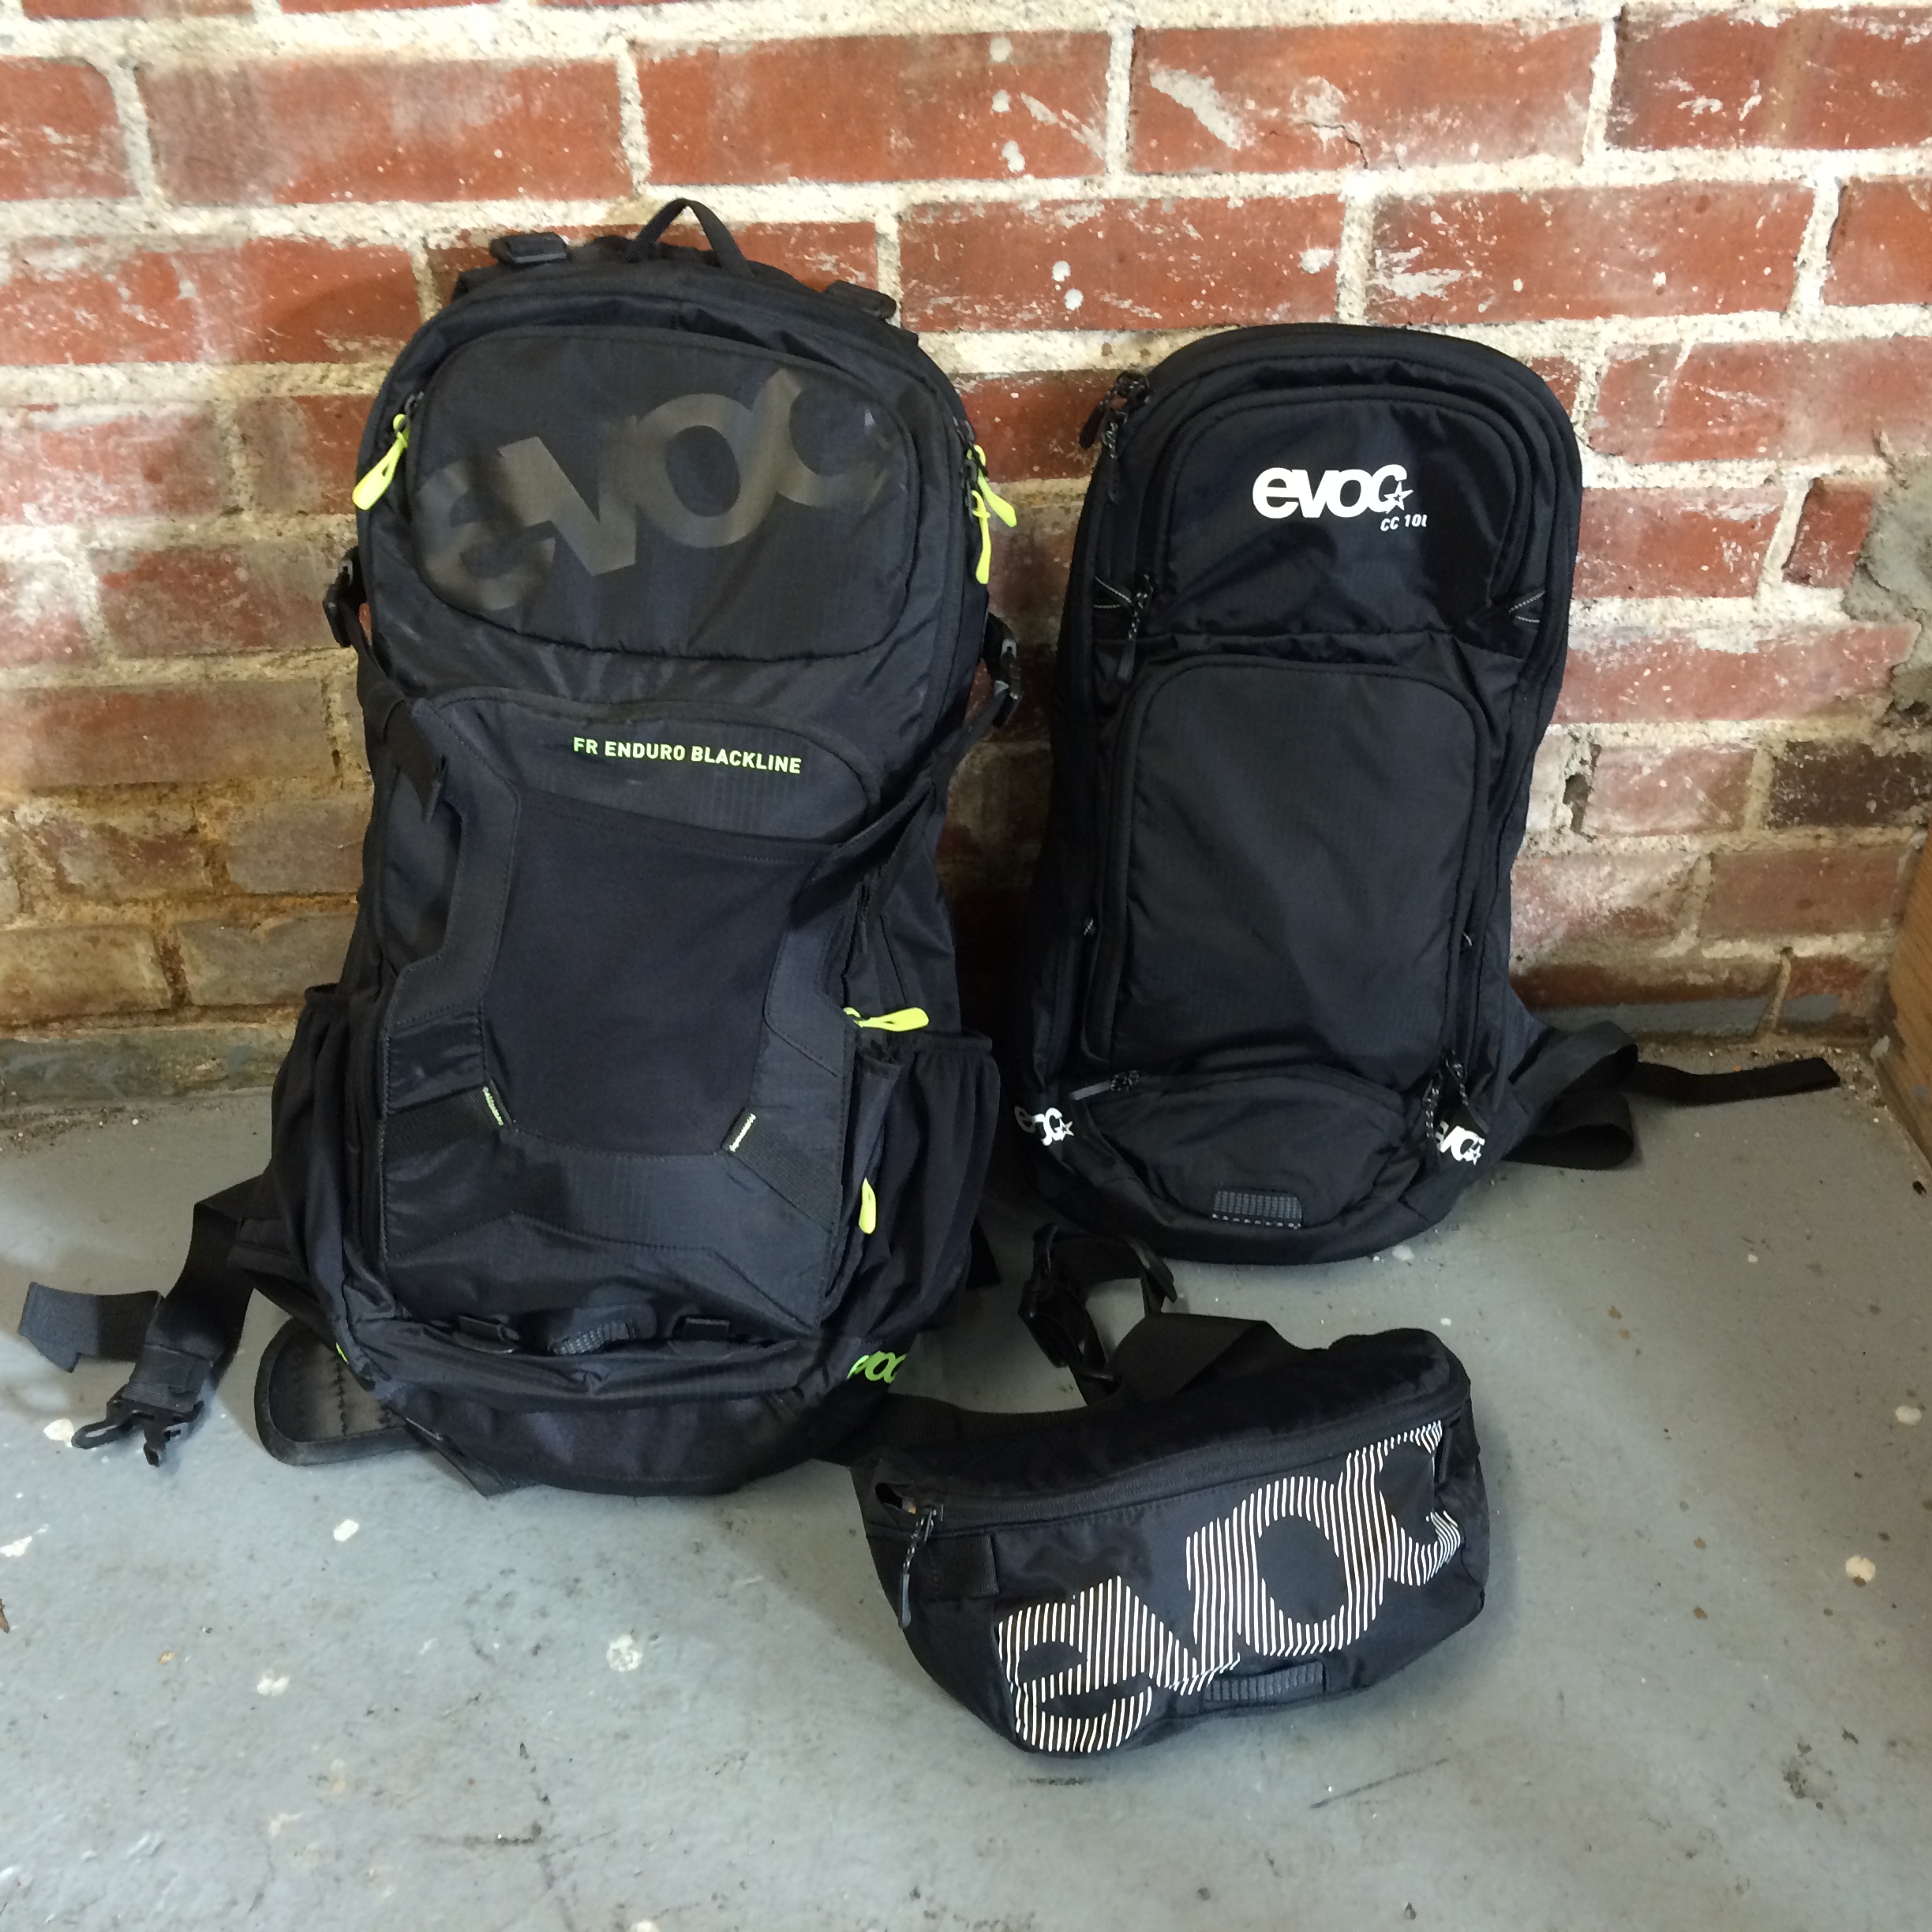
Three packs from EVOC (www.evocusa.com). On the left, the big dog with a capacity of 30 liters. On the right, the 10 liter (and my go-to for most rides). And in front, the ultra-hip, Hip-Pack…
There have been many times that I have taken off on a ride without a pack. I have, however, had the very basics (phone, keys, multi-tool, spare tube) stuffed in my pockets of my shorts (zippered pockets, of course. Lost smart phones or car keys will put a damper on the good times you had on your ride). On those rides, I’d have a water bottle with me, in the H20 cage, on the bike. On these pack-less rides, I’d be absolutely positive that the weather wasn’t going to go bad on me. I would never be any more than a few minutes walk from wherever I need to be if something did come up, mechanically, that I could’t repair. And, from a safety perspective, there were almost definitely going to be plenty of people around.
So, on that type of ride: short ride, close to safety, no weather…OK, no pack…stuff a couple things in your pockets… But, Fashion Police be damned, this is a great ride for the Hip-Pack! (foreground in the photo). Throwing a bunch of expensive and important stuff in non-zippered pockets isn’t such a great idea for obvious reasons. And, stuffed cargo pockets (with shredded layers, warm hat, etc.), especially if they are on your thighs, means that the weight is going to have to go up and down with every pedal stroke. I don’t like that.
A hip-pack keeps your valuables secure and carries the weight of the contents on your lower lumbar, which is also the center of mass of your body. This will be the calmest and most efficient place to carry it.
And, heck, if Day-Glo colors and Skinny-Pants came back into fashion, then Hip-Packs have to be right around the corner, right?
The pack that is the next size up in the photo is a 10 liter pack (on the right). This is my go-to for most mountain bike riding and the size of pack that I suggest most riders buy first. There are many packs that are smaller in size than this (5 or 6 liters, roughly), but all they can really carry is your water and those very basics mentioned above. If you plan on really riding, you’re going to get into rides where you’ll need to shed layers, carry extra layers, and have space to put them. With a 5 – 6 liter pack, this is already too much stuff to fit in there. That’s why I jump up to the 10-ish liter right away. It’ll house all the stuff that will be addressed in this article while still not being too big, bulky, and overkill.
The final pack in the photo is a 30 liter pack (on the left). A pack of this size is a necessity if you’re carrying a sleeping bag, lugging food and camping gear, maybe a pro camera set-up…But it’ll be overkill for the majority of rides.
Again, the 10-ish liter size is a great size for an adequate and versatile, all-arounder pack.
So let’s start getting into the contents…
Most people are aware that a light jacket is a great idea. But I want to go a step further and suggest having a light jacket that will also keep you dry. If you can stay dry, you can probably stay at least relatively warm. If you’re soaked to the bone because your jacket wasn’t waterproof or water-resistant enough…well, you probably won’t be at all warm. So look for a decent waterproof or very water-resistant jacket that will pack well. I also always carry a moisture wicking hat and usually some warmer gloves. Staying warm while riding in a light rain isn’t very hard to do, even if you are a little damp. But, if someone gets hurt, if you get lost, if you have a major mechanical breakdown that can’t be repaired…and then the weather changes and you’re out for an extended period of time…that’s when a little extra protection from the elements will come in real handy.

H20-proof/resistant jacket that WILL keep you dry. Warm, moisture-wicking hat and gloves… Most peeps pack the jacket; Trust me, you’ll want the hat and gloves at some point.
Next (and, of course, in the learned-this-the-hard-way catogory), is stuff that will give you the ability to repair a flat beyond just that of putting a fresh tube in the tire.
Most riders know that flat tires are pretty much inevitable…even with today’s much improved tubeless tire systems. So, most riders do carry a spare tube (hopefully) with them and have the knowledge to actually be able to install it to repair the flat (again, hopefully). But what happens when you flat your spare and your buddy didn’t bring his? (on long rides away from civilization, two spare tubes may not be a bad idea)
Patch Kit!
Patch kits are small and easy to carry and can be found in any bike shop. And, WILL come in handy at some point. It’s a pretty simple process to patch a tube and you’ll be glad you have one in your pack when you need it.
Flat repairs on the trail aren’t always about throwing a fresh tube in a flat tire, however. I see a lot of flats these days because of damage to the tire, particularly a slice or hole that is large enough so that the sealant of the tire (in modern tubeless systems) is unable to seal the puncture. In this case, the pressure of an installed tube (the usual flat repair method), when it is inflated, will simply force the tube out of the hole, the tube will pop, and you’ll be walking.
There are numerous methods to possibly salvage your expensive tire when you get home, but out on the trail, things can be a bit tougher. Turns out, a paper bill folded over, and placed over the hole, on the inside of the tire, will work great for a tire patch. Two will work better. And a roll of Gorilla Tape will work in a pinch for damaged tire beads, holding the make shift bill-patch in place, etc.
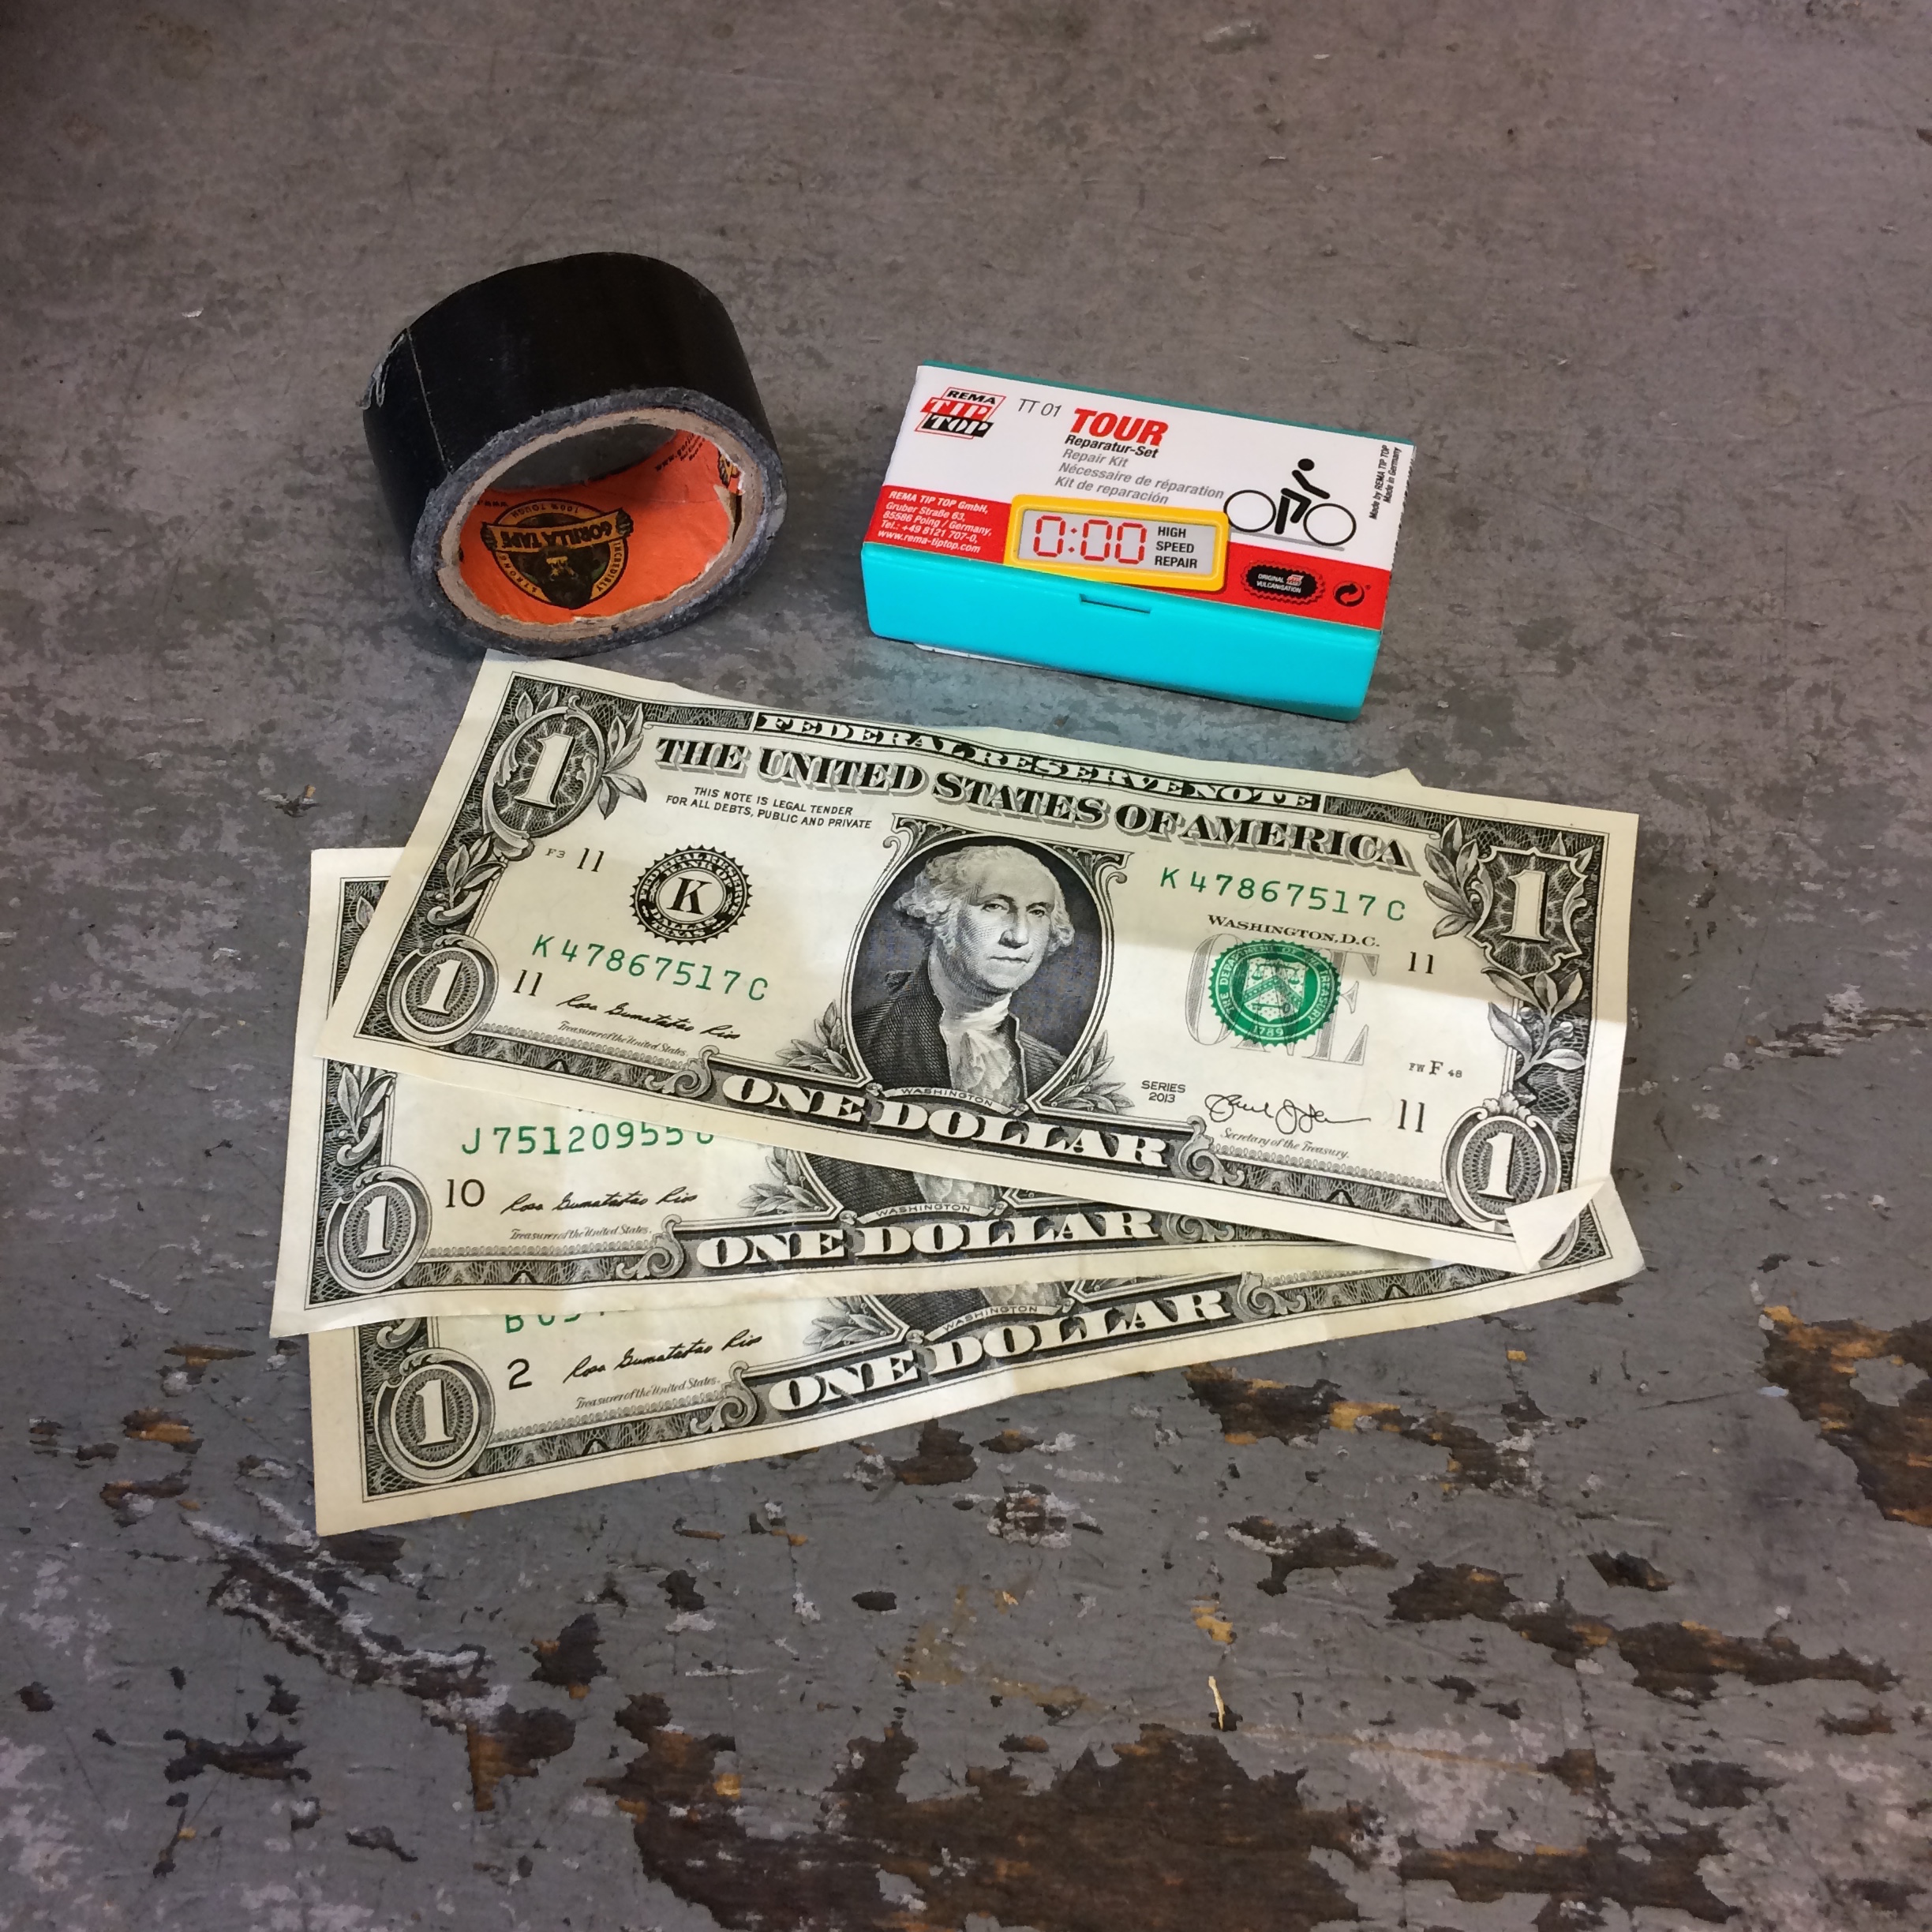
Gorilla tape, patch kit, paper bill$…multiple flat, real world tire repair kit…
Gorilla Tape also comes in handy with fix-anything-McGuyver-style repairs. As do Zip-ties… Cracked cable housing? Sliced brake line? Broken shoe buckle? Possibly—if necessary—even making a a split or—god forbid— a tourniquet… Again, not much space is taken up and you’ll be glad you have these things when you need them.

Strong tape, various tip-ties… Watch a couple episodes of Macgyver and get the fix-anything vibe.
Most riders know that a good multi-tool is a must. But, A CHAIN TOOL IS A MUST, also (many multi-tools do include chain tools). If something goes slightly—even majorly—out of adjustment on your bike, you can usually still nurse it home, covering decent ground, albeit a bit slower. But with a broken chain, and no way to fix it, you’re going to be pushing on all but the downhills. I’m also blown away by the amount of bamboozled riders that I find on the side of the trail, broken chain, chain tool in hand…but clueless as to how to actually use the thing. Make sure that you have a chain tool in your pack (whether on your multi-tool or not) AND you know how to use it. Any bike shop should have plenty of excess lengths of chain lying around that they will gladly donate to you so you can hone your chain repair skills. A good shop will actually show you how it’s done (Youtube.com will, if your shop won’t).
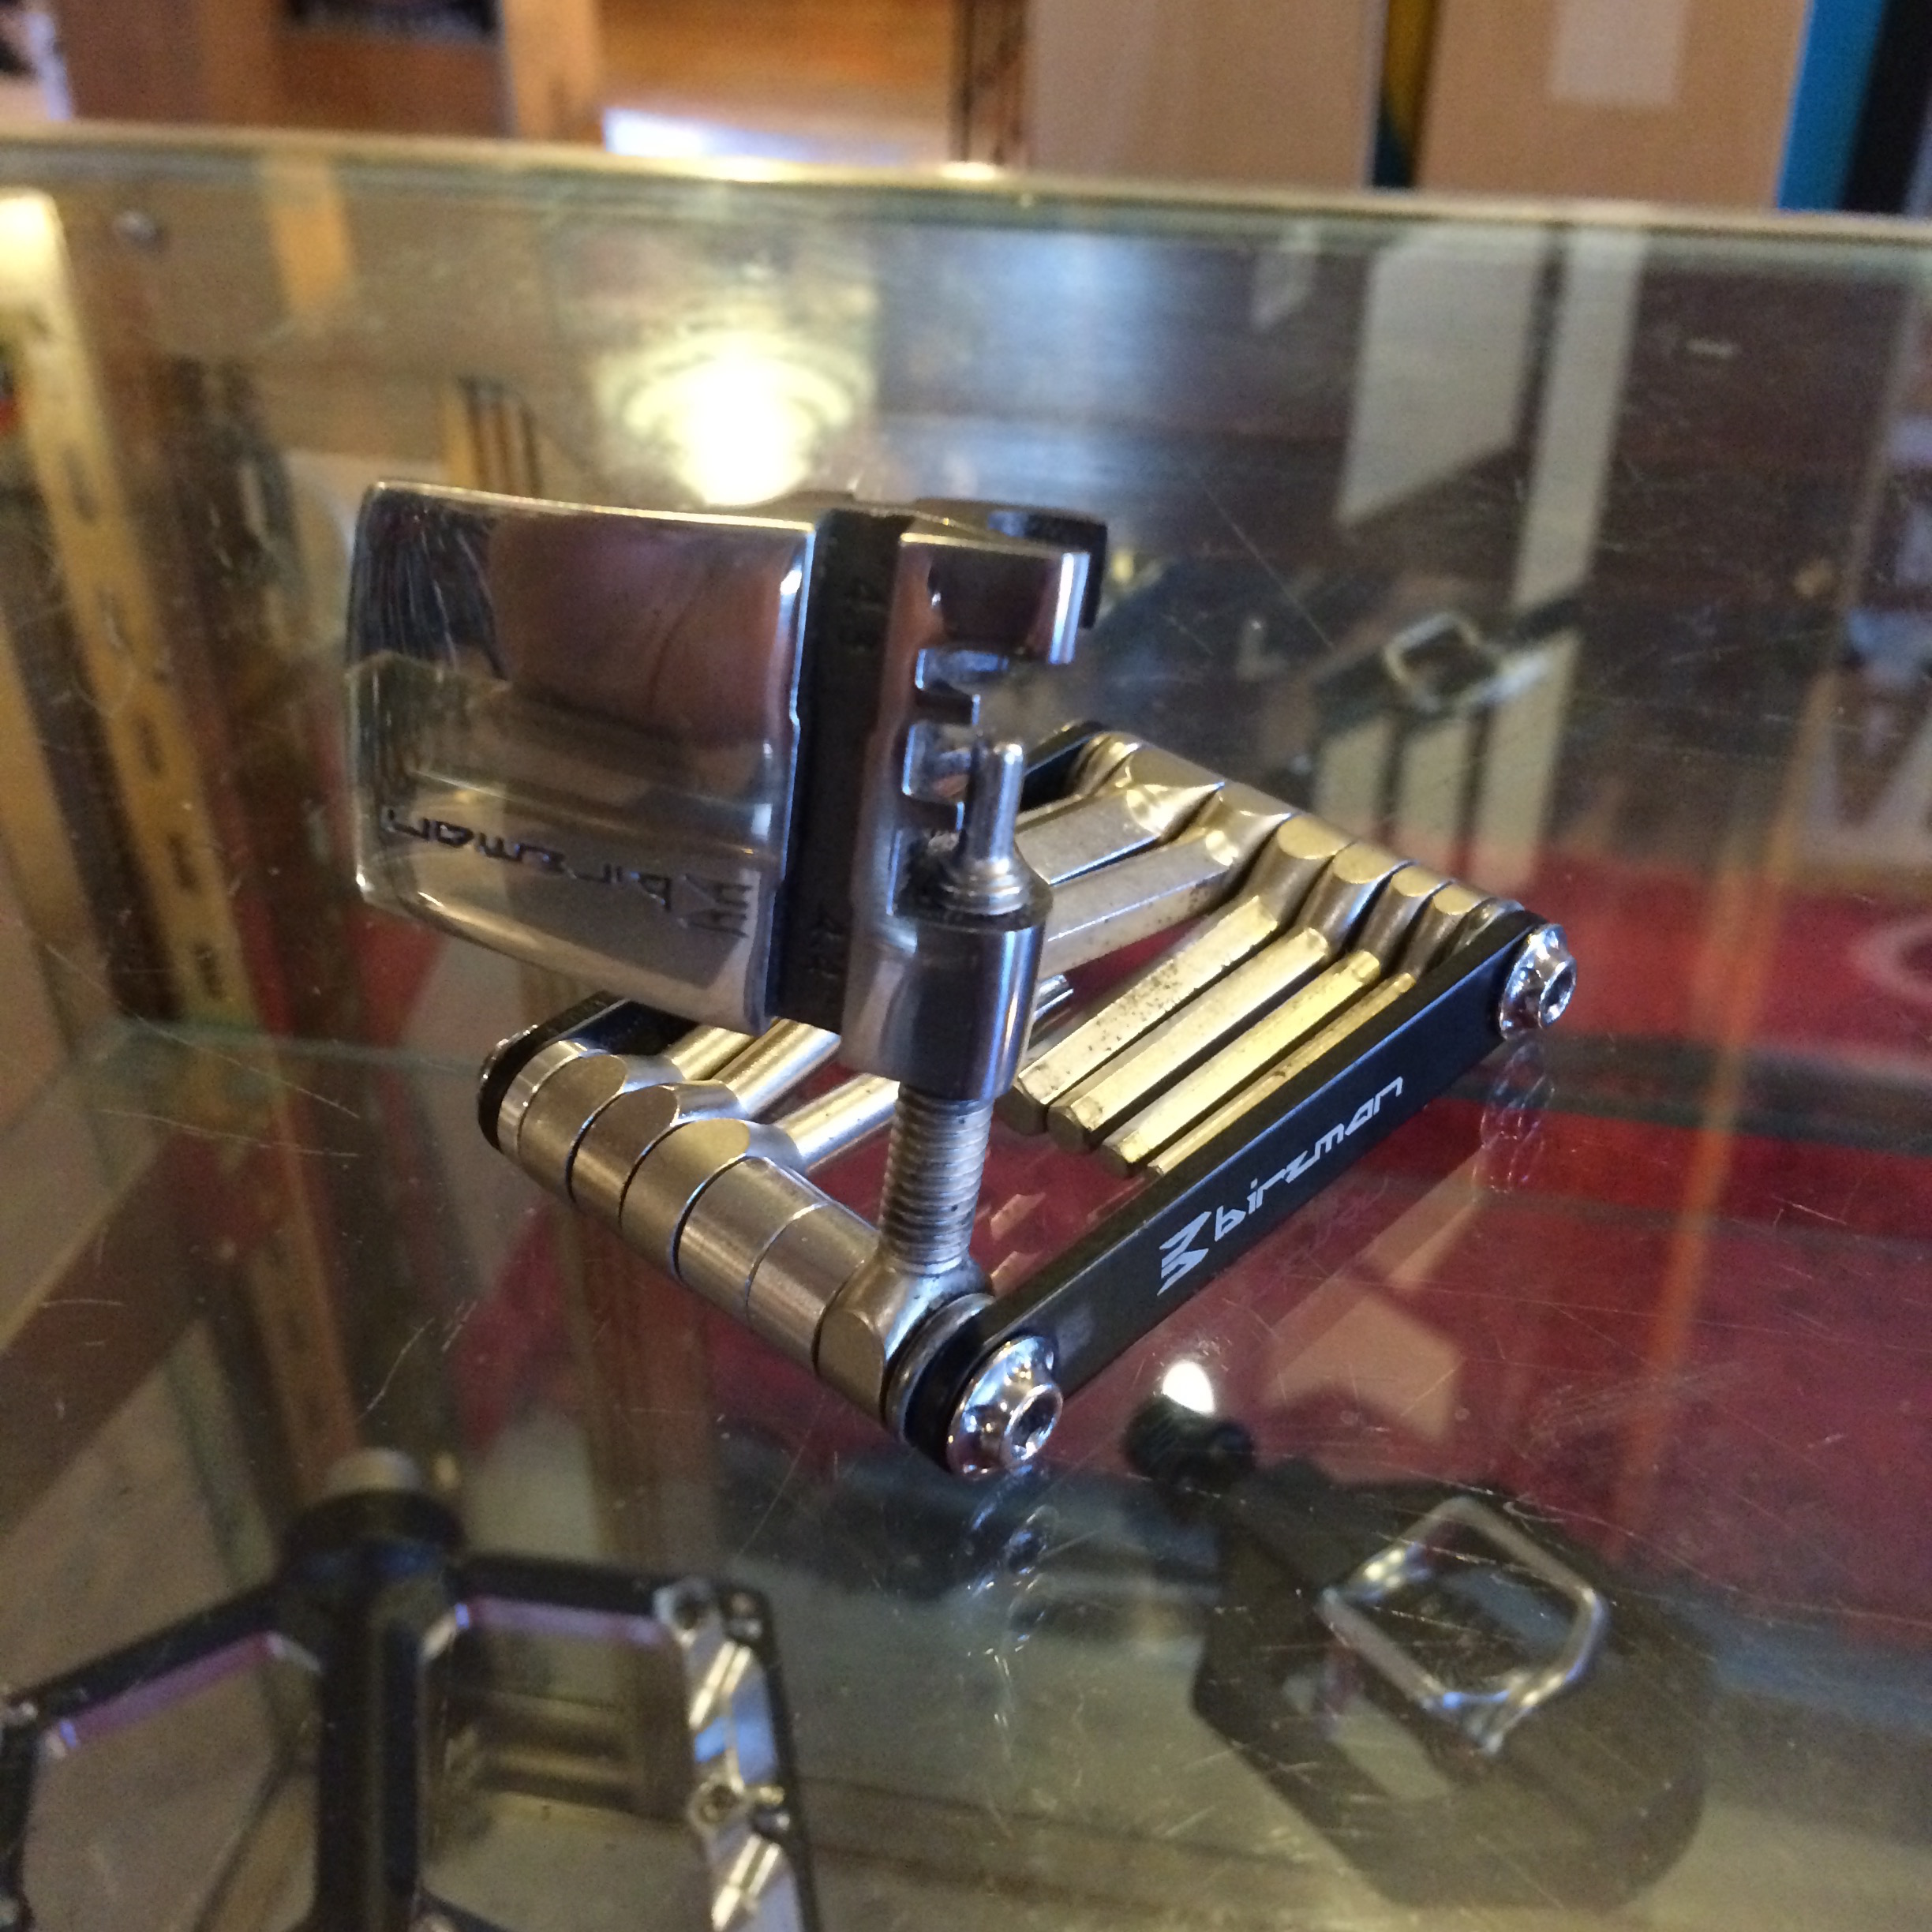
Chain tool included on a multi-tool. But, pretty useless if you don’t know how to use it!
This also brings us to the proper way to fix a chain, and that is with either a SRAM Power Link or a Shimano chain pin. A Power Link should work with both SRAM and Shimano chains, but the pins are designed to work with Shimano chains, so I prefer to use pins on Shimano chains. It’ll be necessary to remove a potion of the damaged chain (with your chain tool) in order to properly repair with either system. Also, you always want to push a chain pin through the links from the inside to the outside of the bike as well as always having the wider link being the “pulling” length for more strength. This gets a little technical (do a little research), but, again, these are things you want to be aware of when you have to make that repair on the trail. And, be prepared to do it when you’re a little lost, it’s getting dark, it’s raining, and you can barely feel your fingers because you didn’t pack your warm gloves!!! 😉
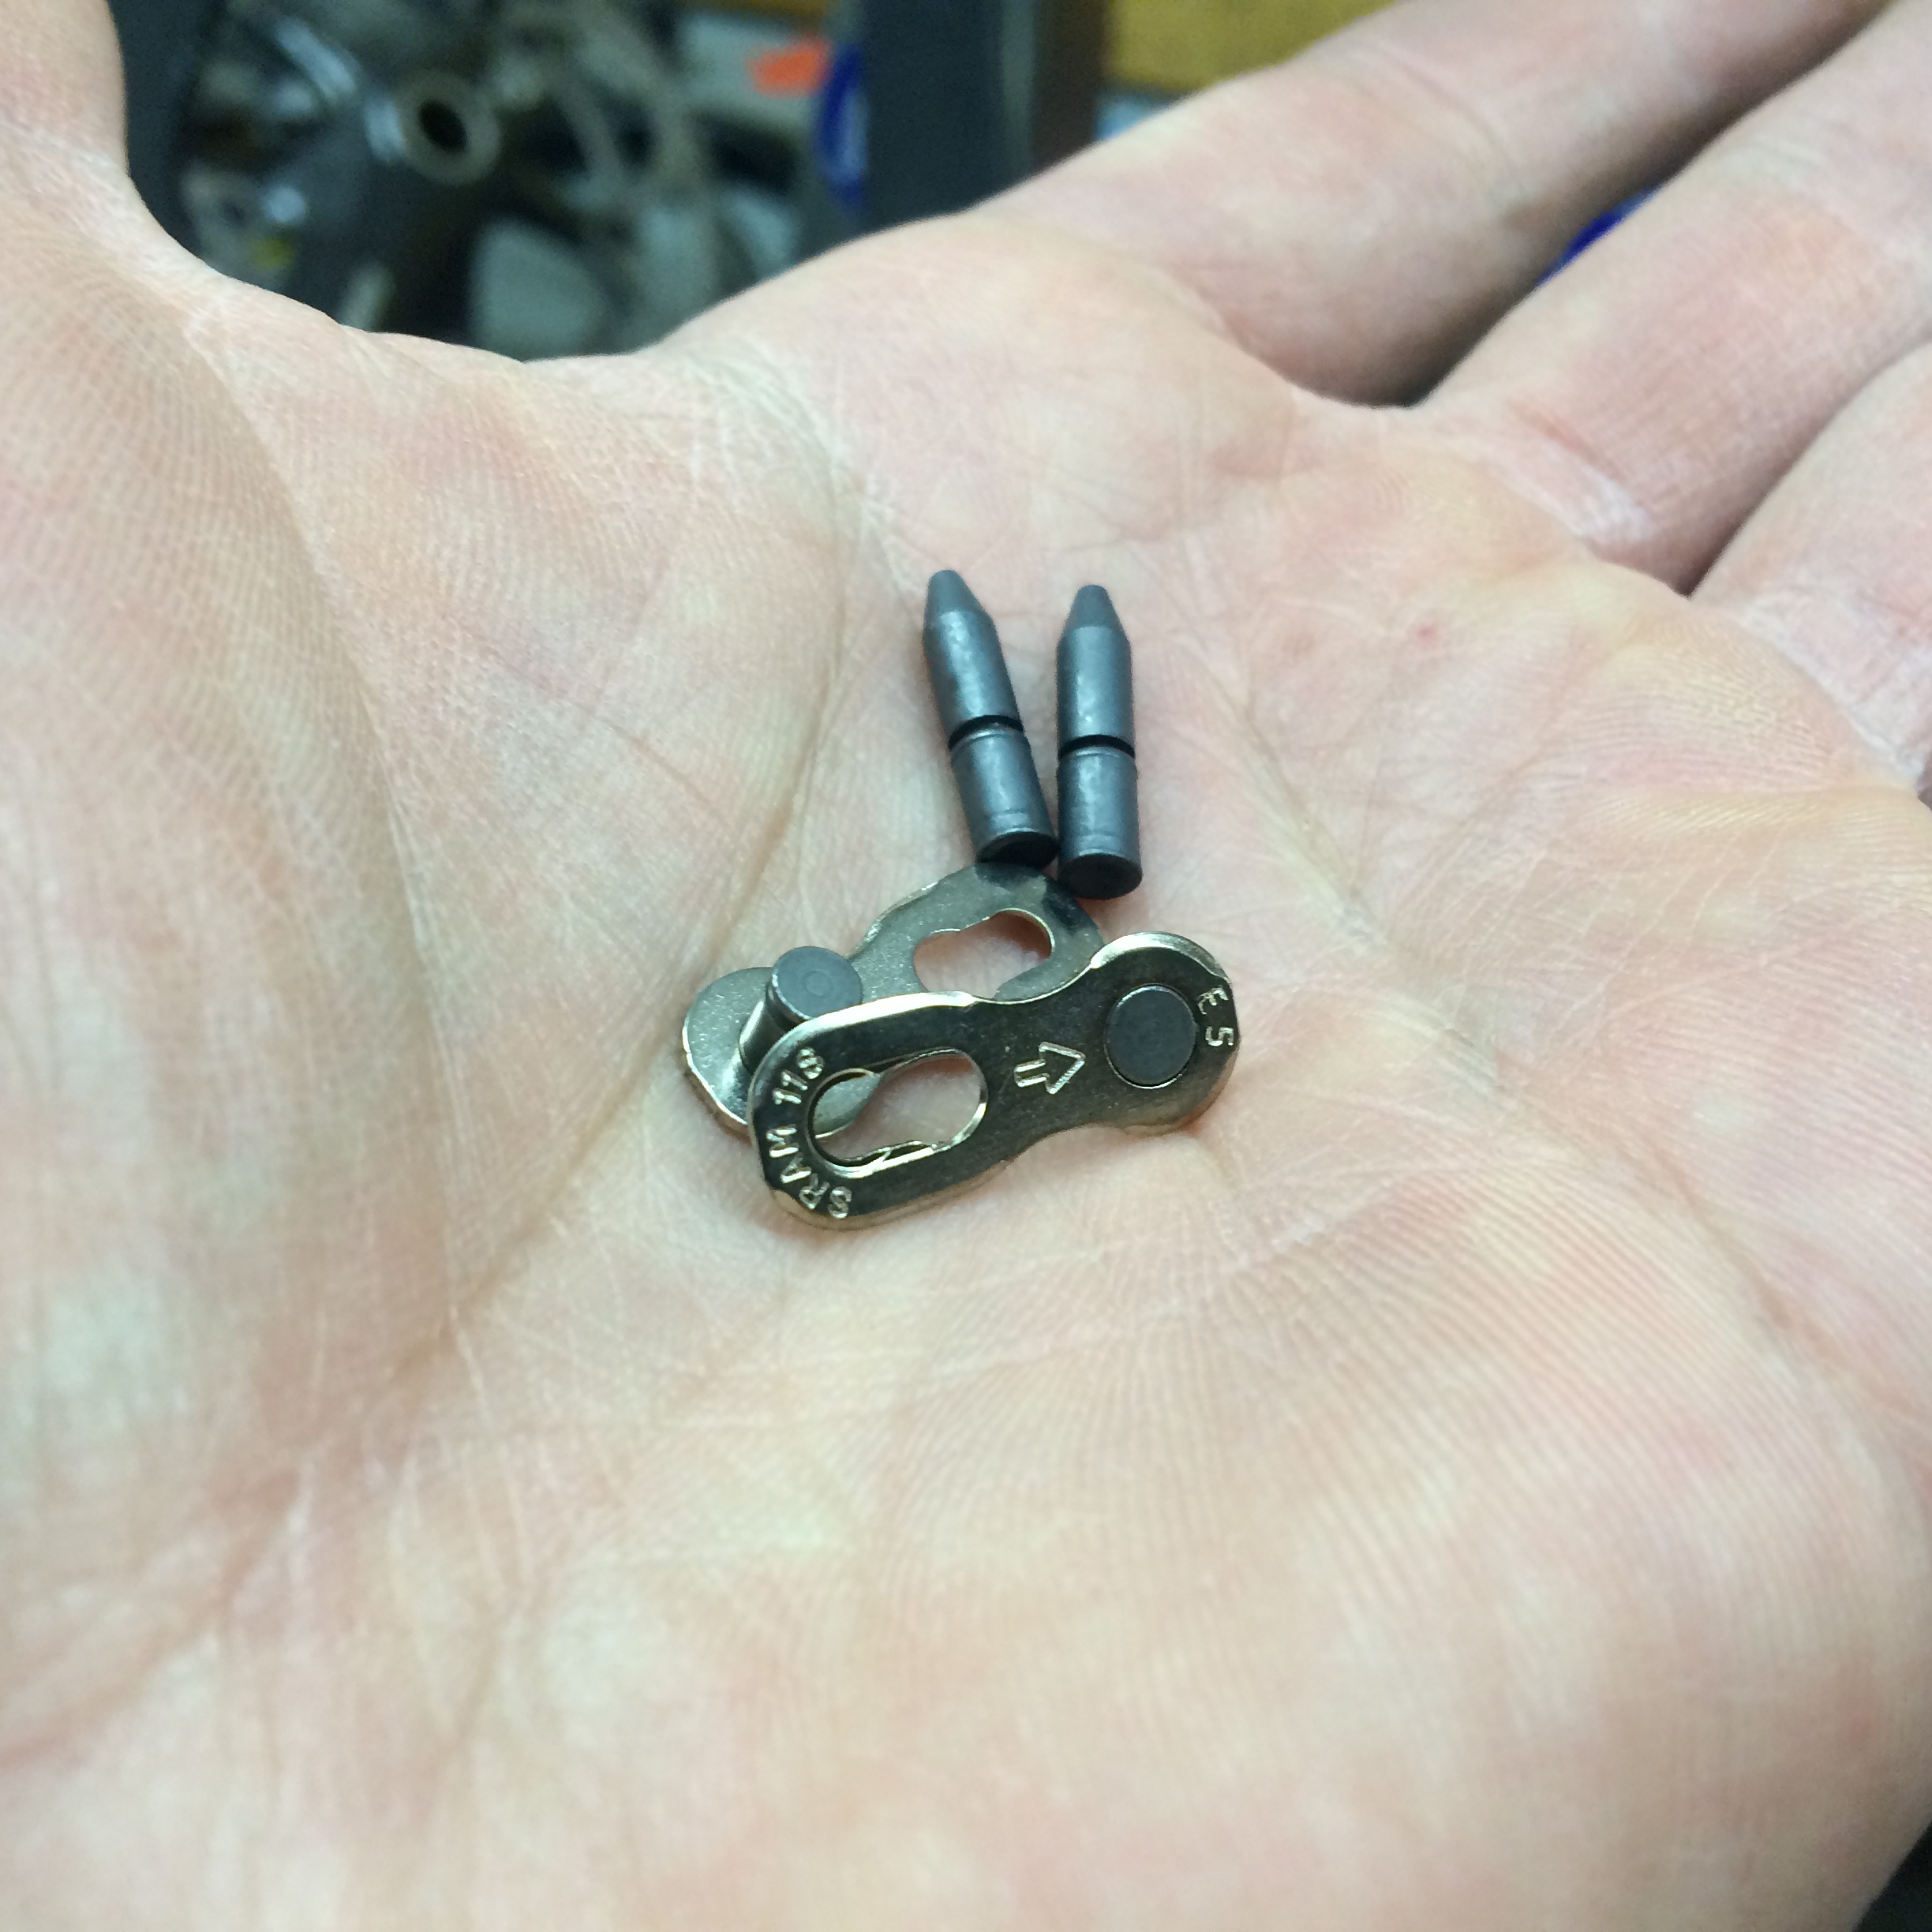
Shimano chain pins and a SRAM Power Link… essential for proper on-trail chain repair.
A shift cable. A shift cable is small and light, easy to carry, and pretty easy to install. Inevitably, you or one of your riding pals will break a cable, or, more likely, fray one to the point where the bike will be almost impossible to shift. If you still have a bunch of distance to cover, especially in difficult terrain, getting the bike back to operational with proper shifting, could be really important.

Shift cable…
Spare derailleur hanger. Your derailleur hanger is that piece of metal that your derailleur threads into. It is designed to bend or break before your expensive derailleur does when the derailleur is impacted in a fall, by a trailside obstacle, etc. Thus, it’s a fairly malleable and weak piece of your bike and easily damaged. When this happens, your bike won’t shift well, if at all. A broken or severely damaged derailleur hanger on a long ride is no bueno… Thus, having a spare in your pack is a good idea. Most bikes have derailleur hangers that are specific to models so make sure you get the right one.
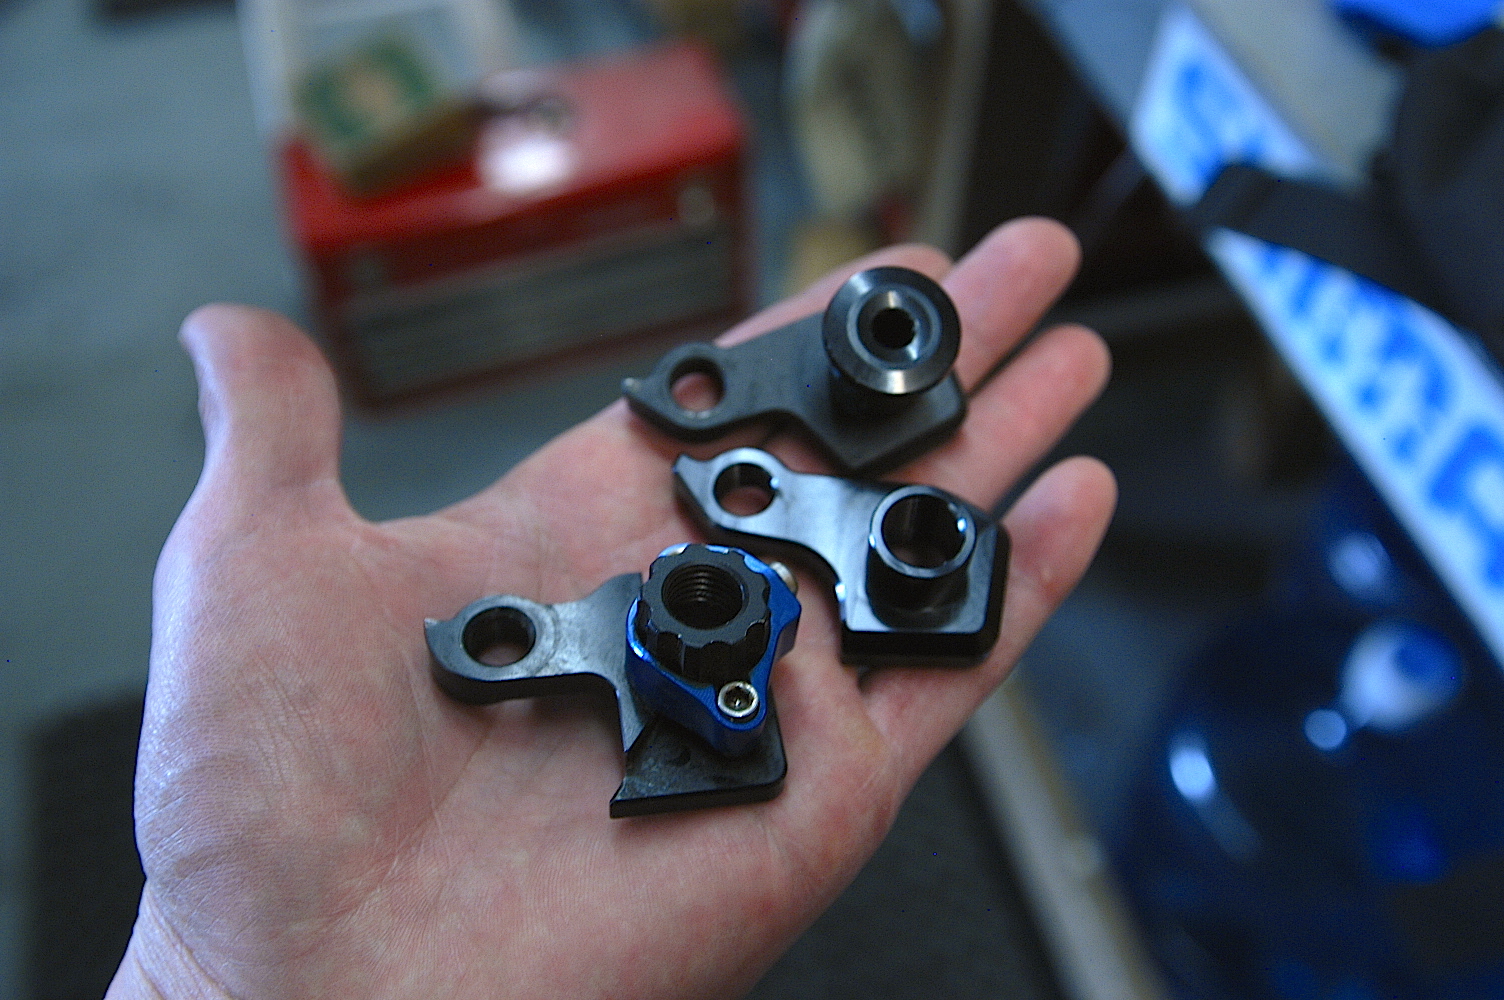
These are derailleur hangers. There are many different versions… make sure you have the correct spare for your bike
Last thing: Spare cleat bolts. If you ride with clip-less pedals, you have cleats on the bottom of your shoes. These cleats are attached with two bolts so that they don’t twist when you twist your foot to get out of the pedal. If you lose one of those bolts, allowing the cleat to twist relative to you shoe instead of relative to the pedal (relative to the pedal is the motion necessary so that the cleat will disengage from the pedal), you won’t be able to get out of your pedal, can’t put your foot down, etc. This can be very dangerous. Cleat bolts should be a installed with blue Loc-tite, preventing them from loosening up…but this doesn’t always happen. Again, a small part to carry, and an easy remedy to a potentially dangerous predicament.

Cleat bolts… If you ride clips pedals, you’ll want to have at least one spare in your pack.
Last, last thing: some type of first aid kit and some first aid skills. I’m not going to go super in-depth with this one, but if you intend to have fun outdoors, I highly recommend that you have at least basic first aid skills and the necessary equipment to implement them.
That’s it for now. Check out www.dirtsmartmtb.com for more on DirtSmart MTB Skills Coaching and Training and scheduled clinics and camps.