
How to Lead a Mountain Bike Ride
How hard can it be to lead a mountain bike ride? All you have to do is make sure no one gets lost, no one gets hurt, and everybody has fun, right?
Unfortunately, people get lost, get hurt, and have terrible experiences on rides all the time. These mishaps are almost always preventable. There is a good argument stating that everyone should be responsible for themselves; however, if you’re the person in charge of the ride, the least you should probably do for your trusting riding buddies is put a little time and thought into what the ride will entail and make sure that the newbies survive and have a good time.
Some of these tips will seem obvious, some won’t. If you’re fairly new to riding, and haven’t lead many rides, then some of the following will be big eye openers. But, even if you’ve been riding for a while and have lead plenty of rides, there will be a few things below that you’re probably not considering.
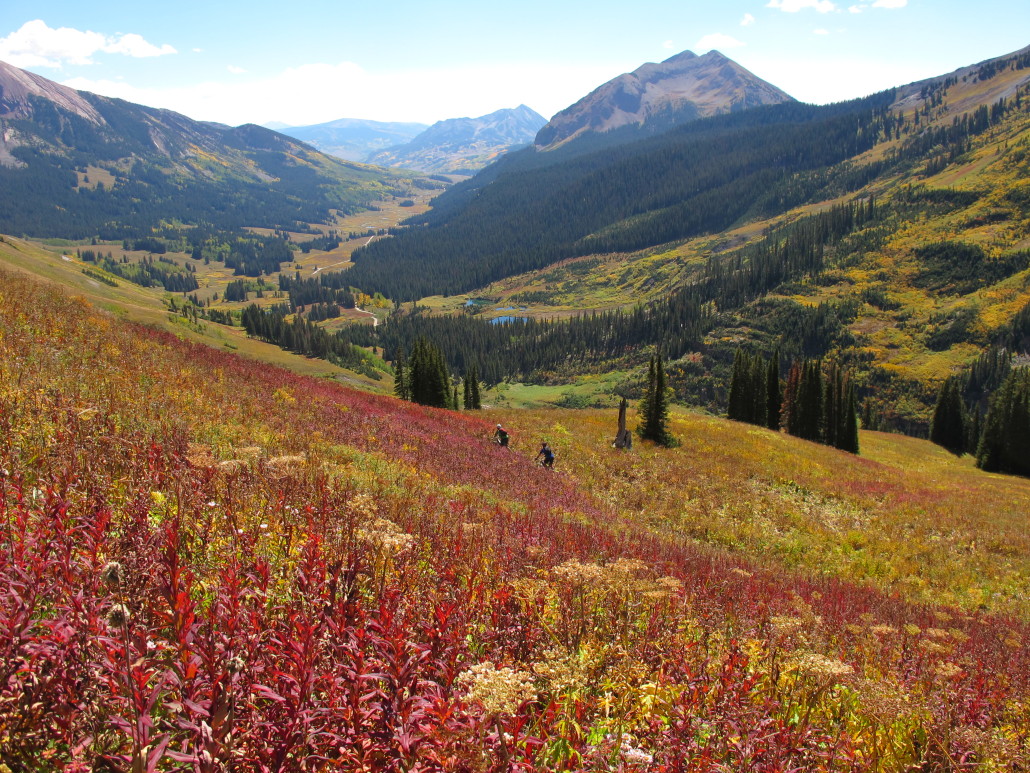 It doesn’t get a whole lot better than this!
Before we even get to the trail:
1) Screen the Back of the Pack
This is a pretty obvious one, but people end up on rides that they probably shouldn’t be on all the time. Often it’s a well-meaning friend who would like another riding buddy and simply wants spread the joy of MTB. Maybe the rider is enough of a newbie to not understand what they are getting themselves into. Maybe you’ve even been one of those unfortunate souls?
Let’s face it, having a person terrified, extremely humbled, overwhelmingly exhausted, etc., while doing something that is very new to them — and especially if said activity potentially carries a big penalty for mistakes — is a much better way to get that person to never ride a bike again rather than “hardening them the F up.”
Want to get someone stoked on riding? Get them on a ride that matches their ability and enthusiasm and allows them to have a blast, build some confidence, and have fun. Help them feel like a champ, not a chump.
If someone is going to be in way over their head on the ride and with the group, some gentle dissuasion is probably in everyone’s best interest. They’ll probably thank you down the road.
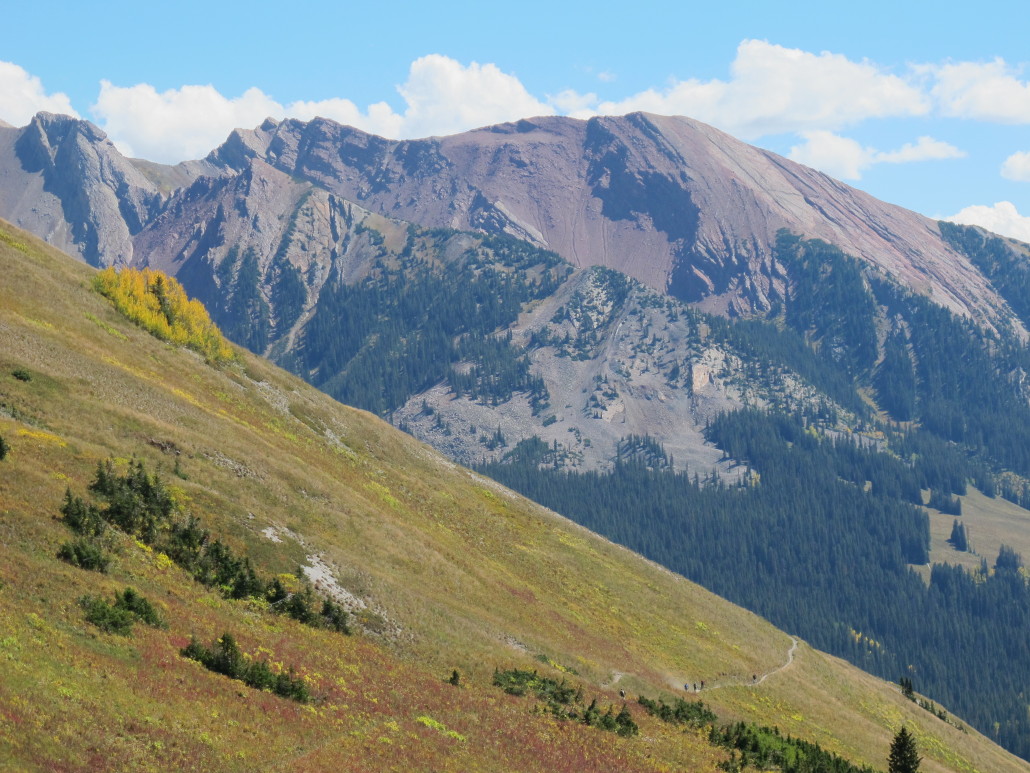 Getting “out there” is fun. But getting hurt, lost, caught off guard by the weather . . . can make things very not-fun really quick. Be prepared, be smart, don’t die!
2) Screen the Front of the Pack
This one’s not as obvious, but is responsible for wrecking the day way more than it should. Example: your buddy is a beast of a rider, racer, all around super-fit animal, type-A personality. And although he’s a good guy, he’s been known to have a lack of patience and some questionable social skills. He decides that he’d like to jump in on a ride with you and a few buddies that are new to riding “just to get a little work out in.” Is this dude going to be a gigantic jerk when things move very slowly compared to what he is used to? Obviously, the group is going to be quite slow and unfit relative to him, but they will probably also be unfamiliar with their bikes, equipment, riding clothing, maybe even transporting their bikes to and from the trail. Is he going to be in a huff all day with a bad attitude, killing the good vibes of the ride?
This happens all the time. Bad group dynamics 101. Perhaps politely explaining that this ride probably isn’t going to be a good fit for him is the best bet in this situation . . . and, for the more advanced riders reading this: don’t be That Guy!!
Once you’re actually at the trail:
3) Check Clothing
Does the group have decent rain jackets, hat, gloves, etc. in case the weather turns bad. Do they have adequate packs to carry the stuff, shed layers, etc. If not, are you carrying extra for the group?
Now, do you need to bring an extra ice axe and survival gear on a short ride if it’s 80 degrees and sunny with zero chance of changing weather? Probably not. But, a decent rain jacket is probably minimum in conditions any less than perfect.
As long as everything goes fine with the weather, extra clothing shouldn’t be needed. But, what if someone does get hurt, it takes hours to get off the trail, and it gets dark and cold? What if you do get lost? And, rest assured, if you spend any amount of time riding MTB, especially in mountainous areas, you can count on getting rained on and waiting out storms. So, be prepared!
4) Check Equipment/Gear
Spare tubes? Multi-tools? One spare tube between a group of five is a recipe for long walk for somebody. You can almost always count on having to tune or tweak a bike here and there, so at least one set of adequate trail tools is a must. Tire pressure? A few folks will almost always be way out of the ballpark with tire pressure, especially in a group of newbies; so, a foot pump and gauge to use before you even leave the parking lot are a good idea. With rare exception, hand pumps take forever to actually inflate a tire; and why waste a CO2 if you don’t have to?
Do they have adequate bikes? (This is a good info to obtain, pre-ride, before you’re at the trail). You don’t need the most expensive, high-tech scoot in the local shop to get into MTB. But some specific types of bikes simply won’t cut it for other types of riding. If your chubby buddy wants to ride a fifteen year old, forty-five pound downhill bike on Saturday’s 40 mile death march because he’s decided now is the time to get in shape. Well . . . bad idea. Let’s get him to borrow a more adequate bike, rent, or find some other solution (and maybe a ride of that nature isn’t the best idea for an out of shape guy to get back into riding?). I don’t want to pedal a downhill bike 40 feet, much less 40 miles.
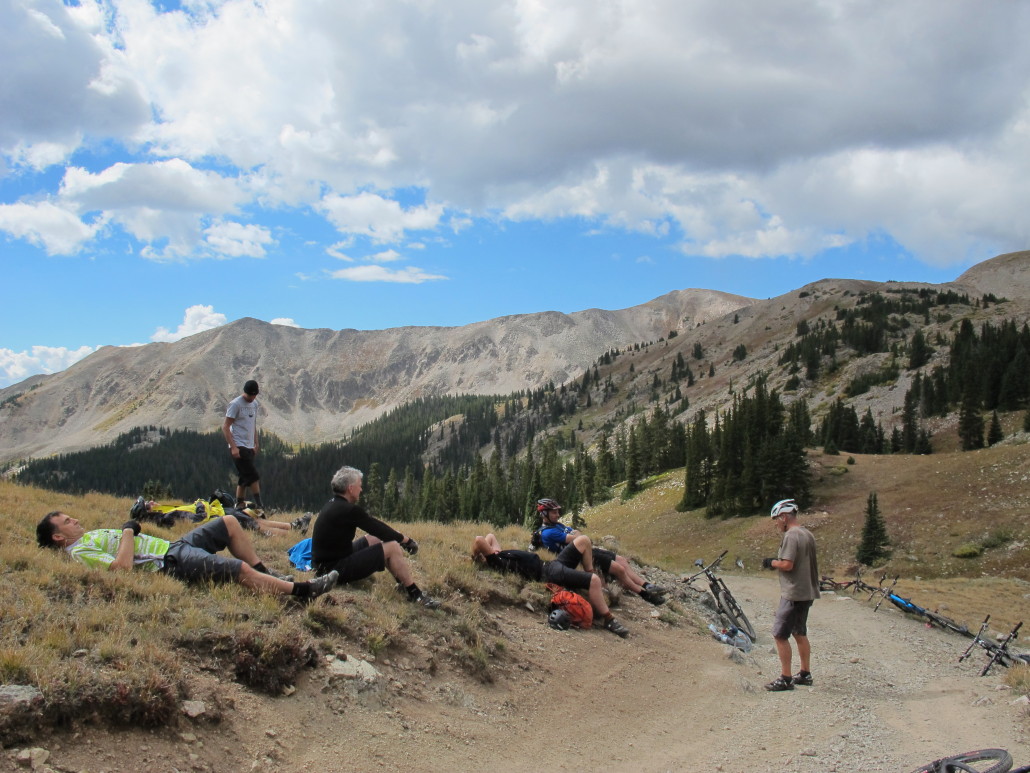
Take breaks and check on the crew; making sure everyone has enough food, water, energy, gumption . . . all very important factors in keeping the group safe and having fun.
5) First Aid Kit
Hopefully you won’t need it. But, things happen. It should probably be your responsibility to carry the first aid kit. You can get however crazy you want with it, but you should at least have the basics for the type of injuries that most often occur on MTB rides when someone hits the deck. Also, if you do anything outdoors, a bit of knowledge of first aid is kind of a no-brainer. So if you don’t have any of the knowledge part, get some!
6) Directions and Maps
When it comes to shorter rides, especially when you’re never very far from civilization, you can use your phone to snap a picture of the trail map on the kiosk at the trailhead. This will usually work. Until your phone battery dies. Or, your phone gets soaked and it dies. Or, you break it. Also, counting on having cell service is never a good idea.
If you’re getting out there a bit, a good quality map, designed to hold up in tough conditions is a good idea. Most bike shops and/or outdoorsy stores will sell these. If you’re getting at all remote, be overly prepared. Have a real map . . . or two.
Why two maps? Because maybe your group will have to get separated for whatever reason. This is where clear directions, communication, and plans become very important. Do whatever you need to do, but make sure everyone knows where to meet up again. Make sure the plan is clear and at least one member of each party can trace the route and find the location(s) on the map.
This is actually a very crucial point when it comes to safety. Everybody assumes that everybody else knows where they are going when the group separates, and too often, they don’t. Take the time to BE SURE that both parties knows where they are and where they’re going. There are countless instances where things have gone seriously wrong in the outdoors, and simply taking the time to do this could have prevented bad things from happening.
7) Orientate Your Group
I always like to point out to the group where we’re at and where we’re going to be on the ride; point out ridge lines and valleys, “we’re going along that ridge, dropping down the other side and we’re going to come out way over there.” Have them set eyes on the features of the land and where they will be. Show them where the drainages are.
I don’t have the greatest sense of direction, myself. But if I’m consistently conscious about the features of the land, the direction that I’m riding, etc., then I’m fine. If you’re in any area where visibility is tough, a compass and knowing how to use it probably isn’t a bad idea.
Also, alert the group of particularly tough sections of trail, either climbs or descents, and maybe even slow or stop the group before these features so that no one gets a painful surprise.
8) The “Waiting Rule”
If your intention is to keep the group together, have an understanding within the group about how you’re going to wait at trail intersections. You could simply wait for the whole group; the first person waits until the last person gets there before anyone proceeds. The other one is the “ladder” technique. Each rider waits at the intersection until the following rider shows up before proceeding. MAKE SURE that everybody is clear on this, abides by this rule, and makes verbal communication before continuing down the trail. “I thought they saw me turn” is not OK!
9) “How’s everyone feeling?” Keep tabs on everyone’s energy levels, morale, etc. Be careful and aware of people trying to be a little tougher than they really are. When people are fatigued, that is when they are most likely to make mistakes and get hurt.
Before you leave the parking lot you should check that everyone has some trail food on the ride (you should carry extra). And for those that are hungover, skipped breakfast, etc., try to get them to eat and drink something. Most normal people are always a bit dehydrated. This isn’t a good way to start a ride.
Often on rides that are loops, there will be “points of no return.” In other words, once you pass this point, you have to do the full loop to get back to the start. There will also usually be “bail-out points” or trails that will offer short cuts back to the start.
Know where these points are, and be aware of the energy and moral of the riders in the group. But, be VERY careful in deciding whether it’s a good idea for the group to separate to allow some riders to opt out early. Often, just taking it real easy with lots of breaks is a better option then separating the group. Use the guidelines above and good ol’ common sense.
10) Post Ride Recovery Refreshments
At minimum, have a cooler full of ice-cold bevies waiting in the parking lot upon return. Better yet: have a local post-ride sushi, Mexican, or burger joint and beer-fest planned for the post ride recall (BS session). Make the plan and location known to the group before and during the ride. This feast will serve as the proverbial carrot helping everyone to push through those last few miles. Make sure this joint is accommodating to the volume and energy of endorphrin-buzzed mountain bikers swapping (perhaps slightly embellished) tales of gnarly descents, puke-educing climbs, close calls, and the inevitable proud comparisons of scabs and bruises.
11) Have Fun!