Dropper Seatposts: Remote Lever Position
MTB Dropper Seatposts are here to stay. If you’ve been paying attention to improvements in bikes and equipment over the past few years, then you’re probably aware of what dropper seatposts, or adjustable-height-seatposts, are. If you ‘re unaware, check out the RockShox Reverb or the KS Suspension Lev, two of the leaders in the dropper post game…
While there are still a few folks out there that will tell you that dropper posts are unnecessary, are gimmicks, etc., most riders are realizing that getting the seat out of the way on difficult terrain is mandatory if you want to ride well in those conditions (while still being able effortlessly to raise the seat for optimal height when climbing and pedaling). There’s always somebody out there that will say, “Well, my friend doesn’t have one of those things and he can ride anything…” or, “The pro XC racers don’t use those,” (they will, soon…). And all the ol’ classics: ” I don’t think I need one of those, I hear they break /I’m just a beginner/I don’t live in the mountains/they weight too much…”
Trust me, I’ve heard all the reasons why riders believe that they don’t need a dropper seatpost. Without getting into it too deep, I’ll say that if you don’t currently have one, than this is probably the best product that you can buy (when used properly and with even relatively proper riding technique) to improve your riding in nasty terrain. And that means being safer, way more in control, more comfortable, more confident, and definitely faster. There is plenty of info out there on these things, so check into them if you’re still a bit fuzzy.
Just a little more for the Doubters:
1) Downhill bikes, 4X bikes, BMX bikes…any bike where control is paramount will have the seat down and out of the way (You have to get the seat out of the way in order to maximize your ability to ride the bike in nasty trail conditions. We get into why this is so important, extensively, in the Instruction Clinics).
2) RockShox, KS Suspension, Thompson, Specialized, Fox, Crank Brothers, and more (all big players in MTB, obviously) manufacturer their own dropper posts, and have now done so for a few years (they wouldn’t continue do this if there wasn’t a market…$$$).
3) Currently, any company that makes high-end “trail bikes” will spec their bikes (or offer the option to upgrade) with dropper seatposts (if they plan on selling them and staying in business).
4) ALL top Enduro racers (“Enduro”, not endurance…) have dropper seatposts on their bikes.
5) We’re now starting to see light weight, short travel posts (65 mm and instead of the usual 120 or 100 mm) specifically designed for XC racing (which is the area of MTB that is probably the biggest hold out because of the fear of the slight weight penalty).
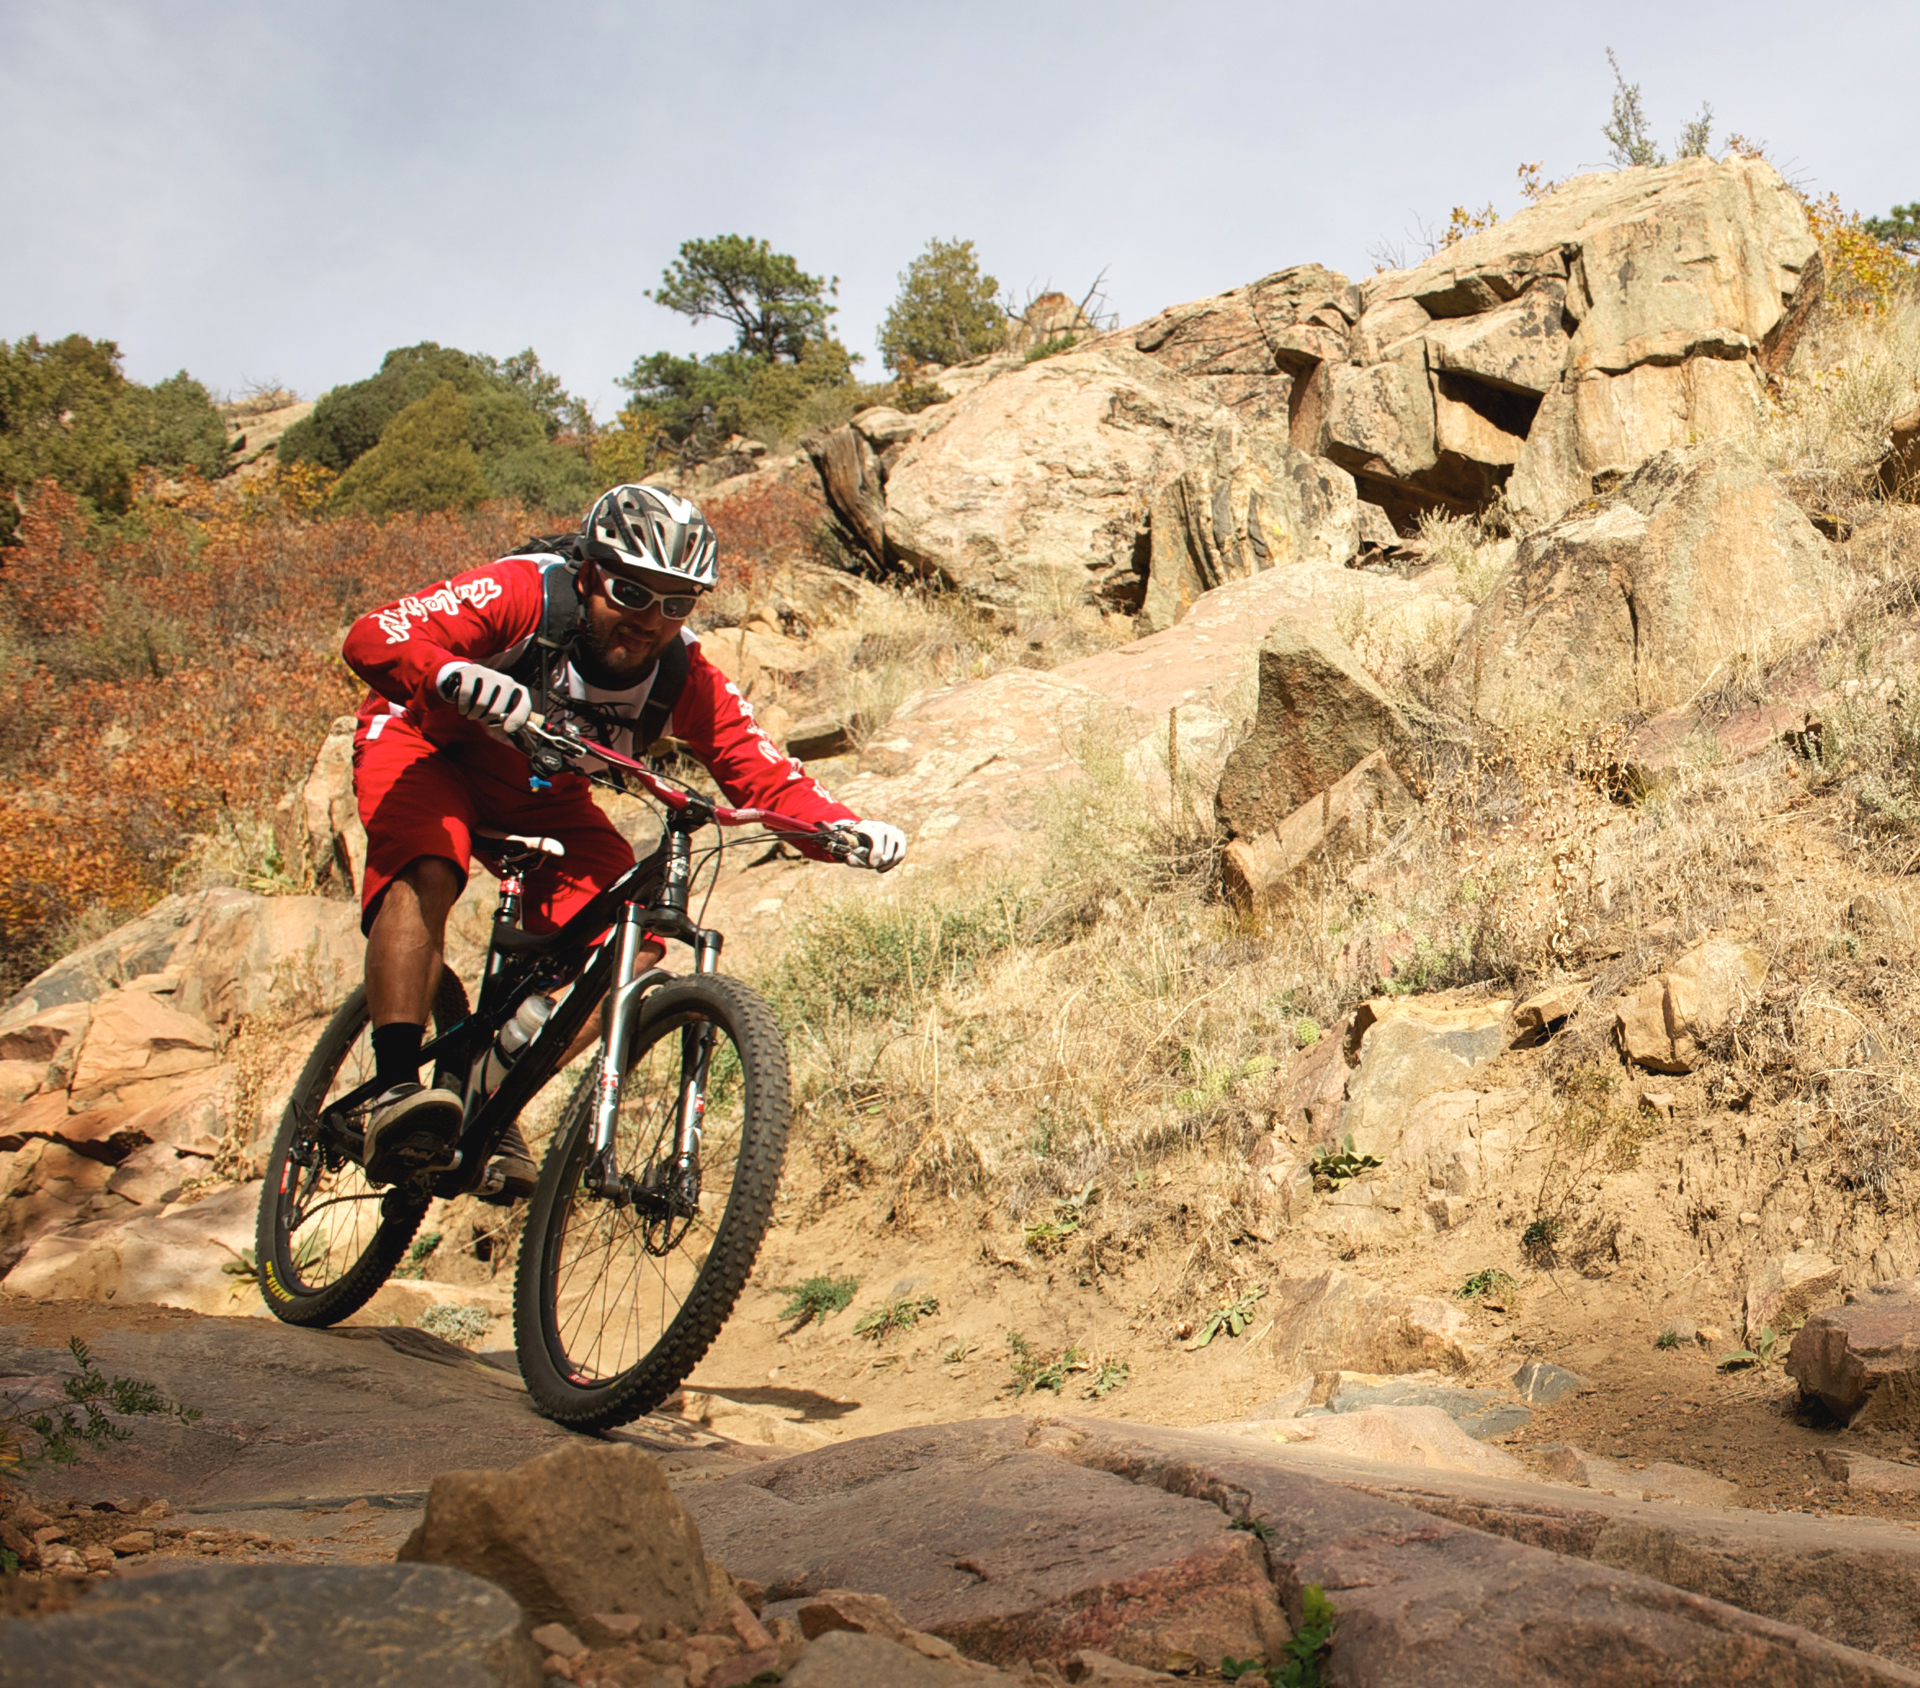
Bottom line: if you want to be able to ride your MTB in the tough stuff to the best of your ability, you have to get the seat out of the way to do it. On super easy trail, equivalent to a dirt road, in a straight line? It doesn’t really matter…but any bit of steepness, rough trail surface, fast corners where the bike will need to be leaned over…you need to get the seat out of the way to do this well and still be able to get the seat up to pedal effectively and climb.
Within the last couple years, many students have been showing up at clinics with dropper posts on their bikes. This is Great!!! However, one place where I pretty consistently see problems is with the placement of the remote lever, or switch, that mounts on the handlebar and activates the post (allowing it to be raised and lowered). Riders, even though they have this awesome tool in a dropper seatpost on their bikes, often mount it in the wrong place and simply can’t reach the lever while their hands are in the riding position, thus, they have to remove their hand from said position in order to activate the post, and this isn’t always an option when things are getting serious on the trail.
It is crucial that the rider can get to this remote lever and activate the post while the rider’s hands are on the grips, in their preferred riding position, and while also activating the brakes of the bike.
This is important, not only in order to control the bike for speed and efficiency, but also for reasons of safety: if a section of trail catches you off guard, and all of a sudden you’re getting in a little over your head (we’ve all been there), trying to slow down and/or maintain control…and you can’t get the seat out of the way because you can’t take your hand out of braking position… Well, things are about to go real bad. Now you’re out of control, and out of riding position because the seat is still in the way…because you can’t get to the remote…because your controls are set-up improperly…
This poor set-up is often the result of the dropper seatpost remote being installed inboard of the brakes the shifters. If this is the case, the rider will almost certainly not be able to reach the remote with out removing his hand from the riding position (taking it off of the grip, and, thus, brake). It’ll simply be too far away from the rider’s hand (unless the rider has huge hands).
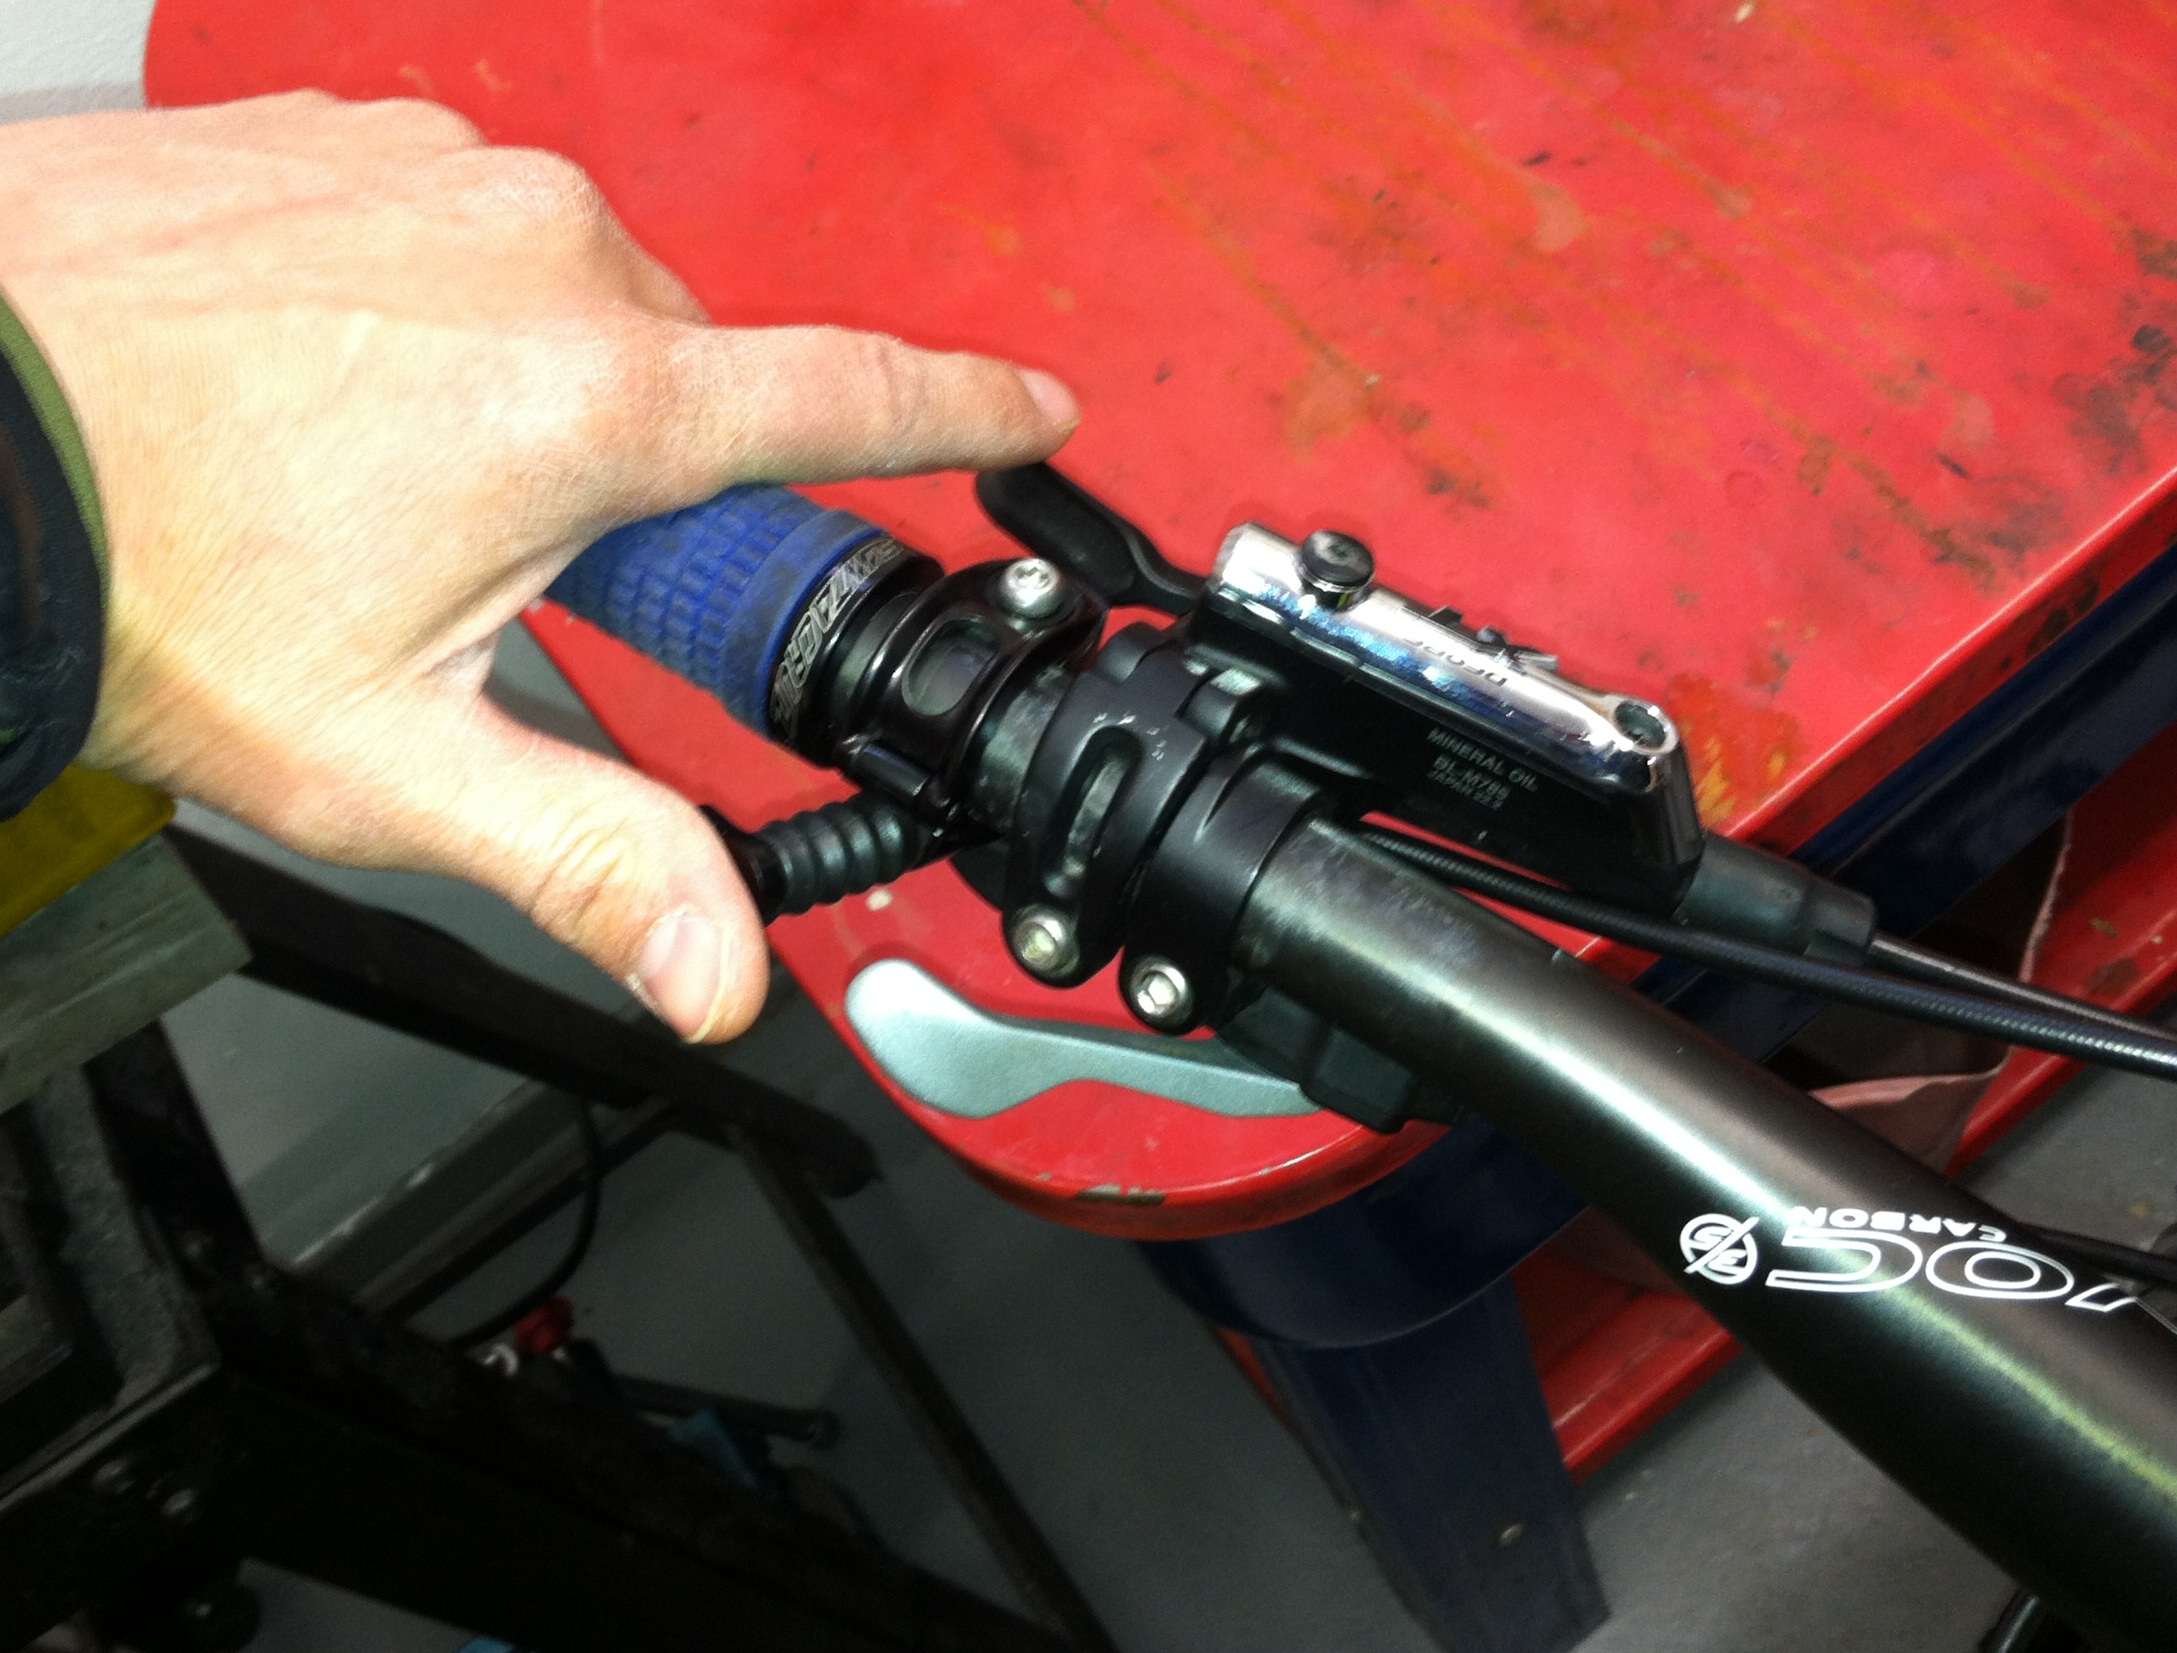
The photos below shows an example of this.
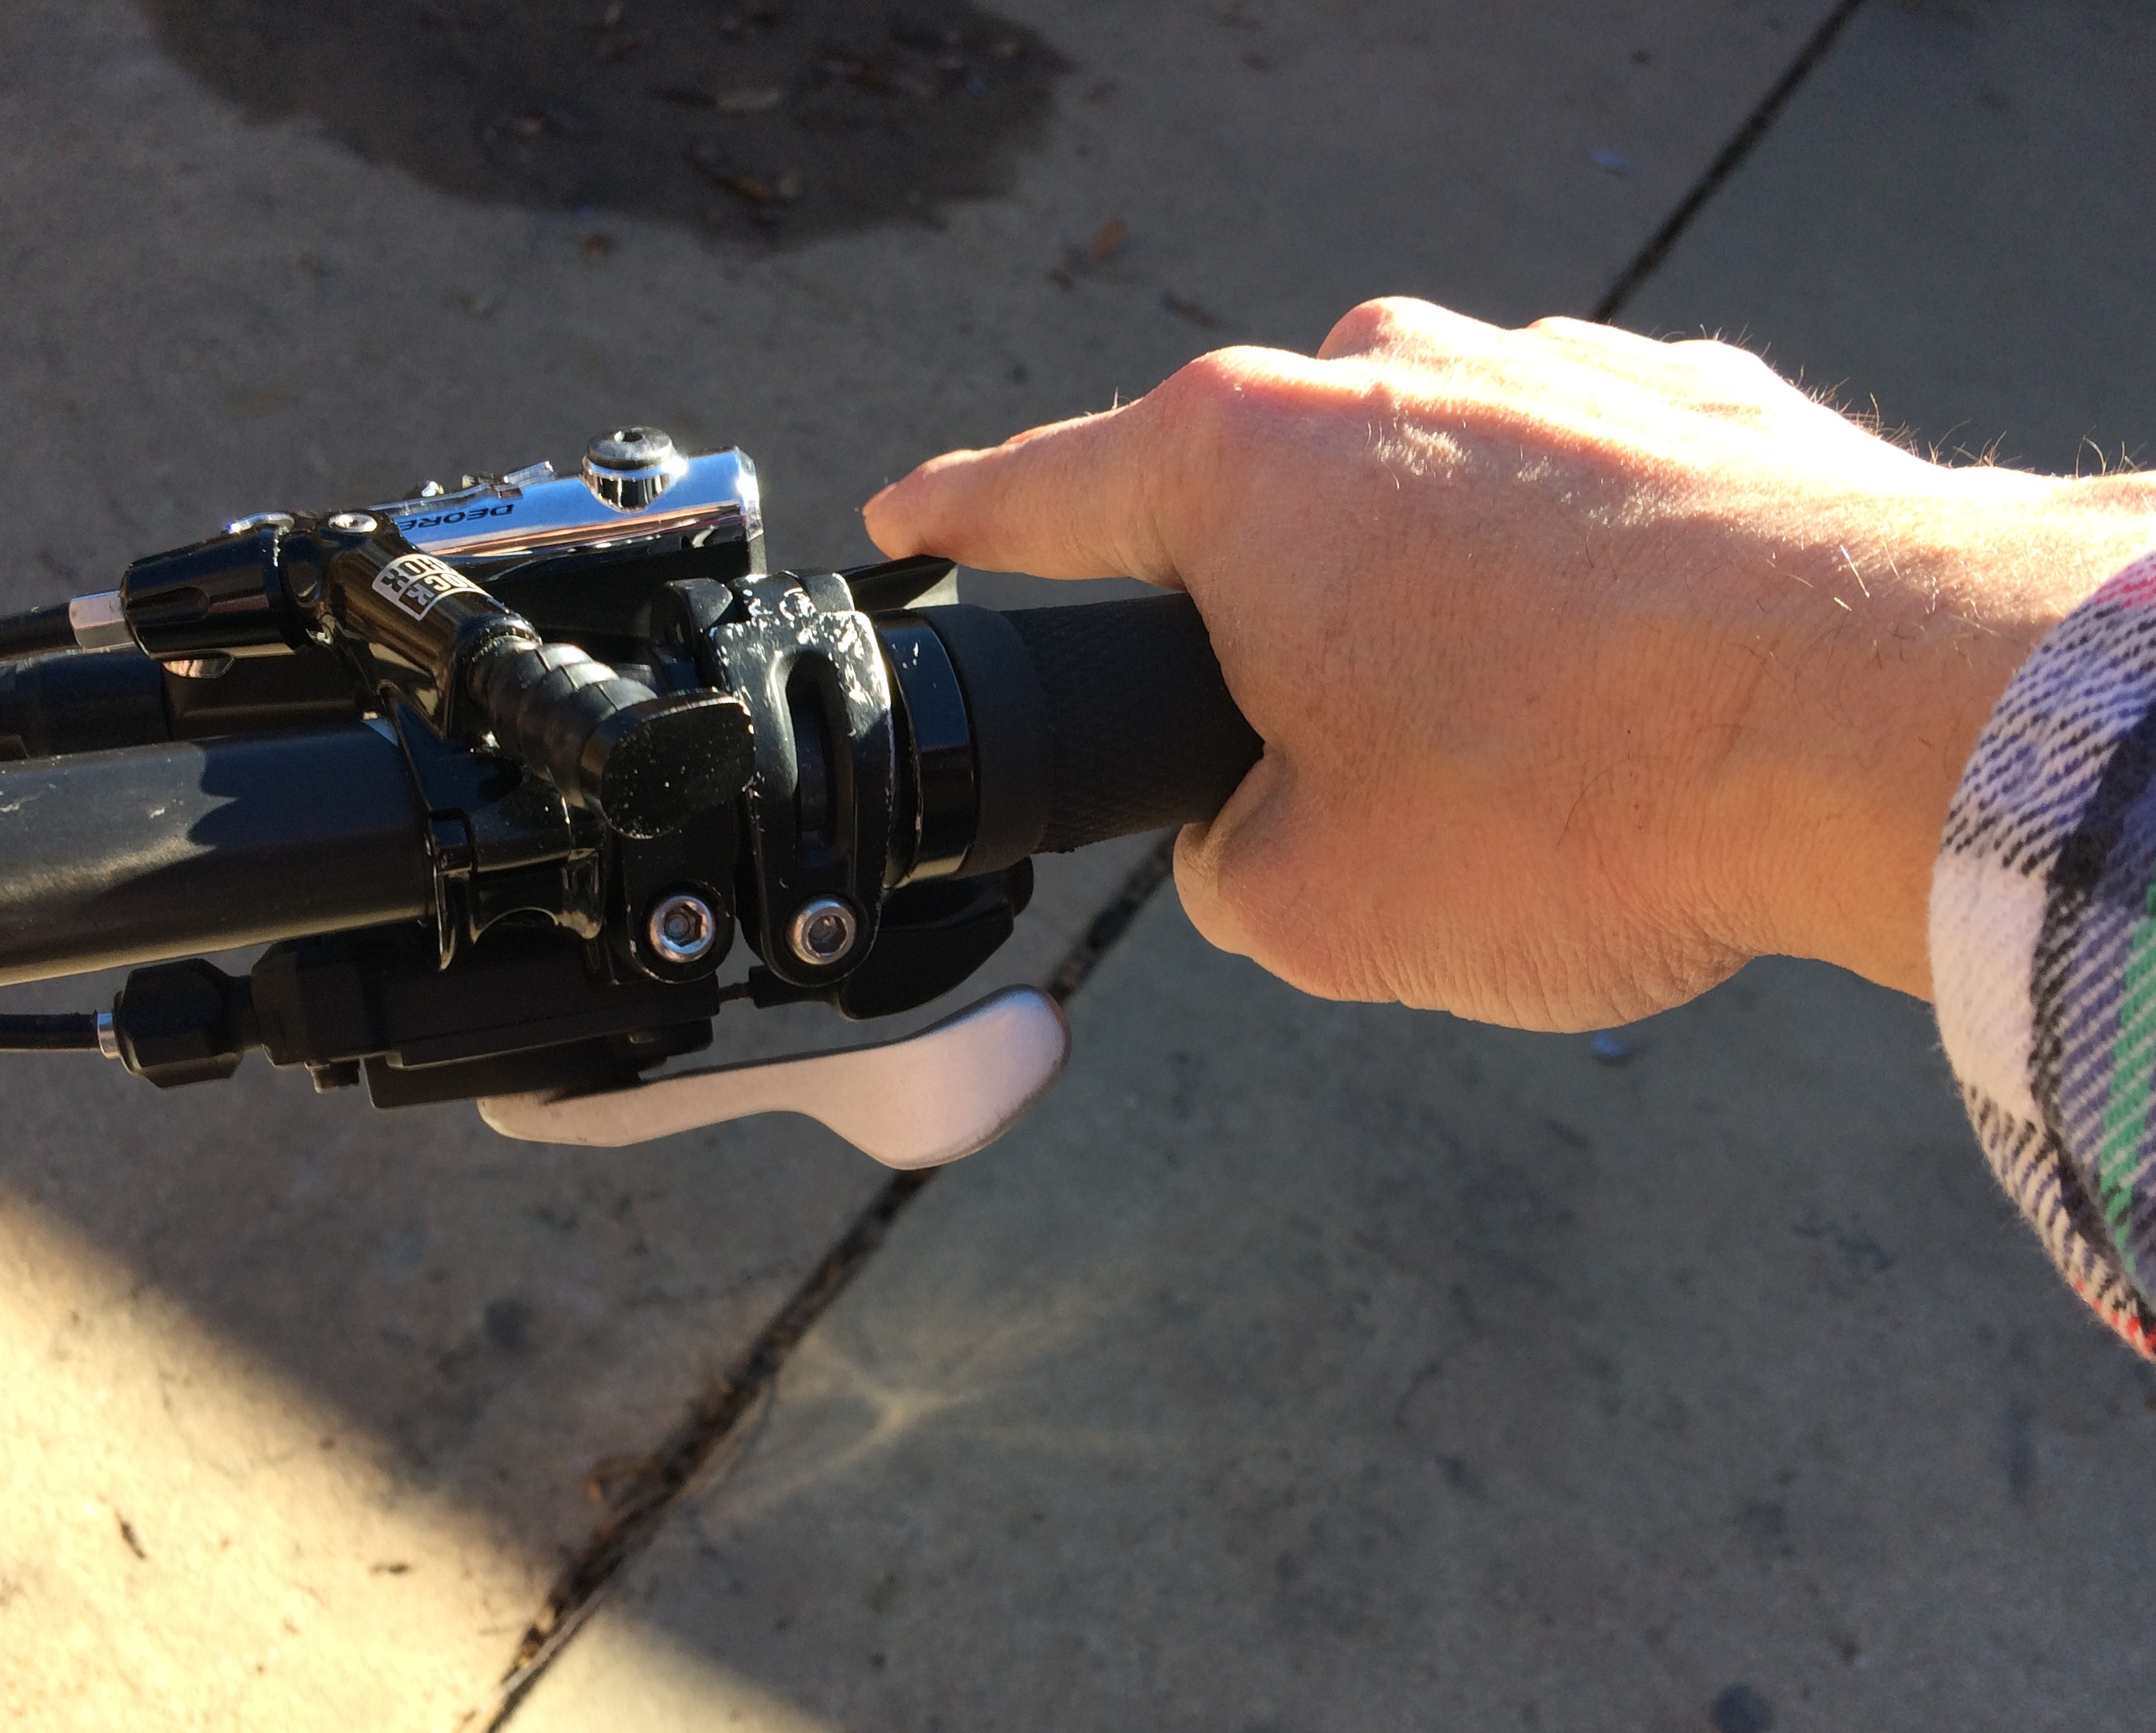
The photos above and below demonstrate how the rider is unable to reach the remote lever if it is mounted in-board of the brake and shifter.

The remote will also often be mounted on the right side of the handlebar (such as in the photos above). This means that it pretty much has to be in-board of both the brake and the rear shifter because the right hand will be very active on the rear shifter and brake lever and, thus, needs to easily reach those. This means the remote is a bad location for all the reasons mentioned above. Solution? Mount the remote on the left side.
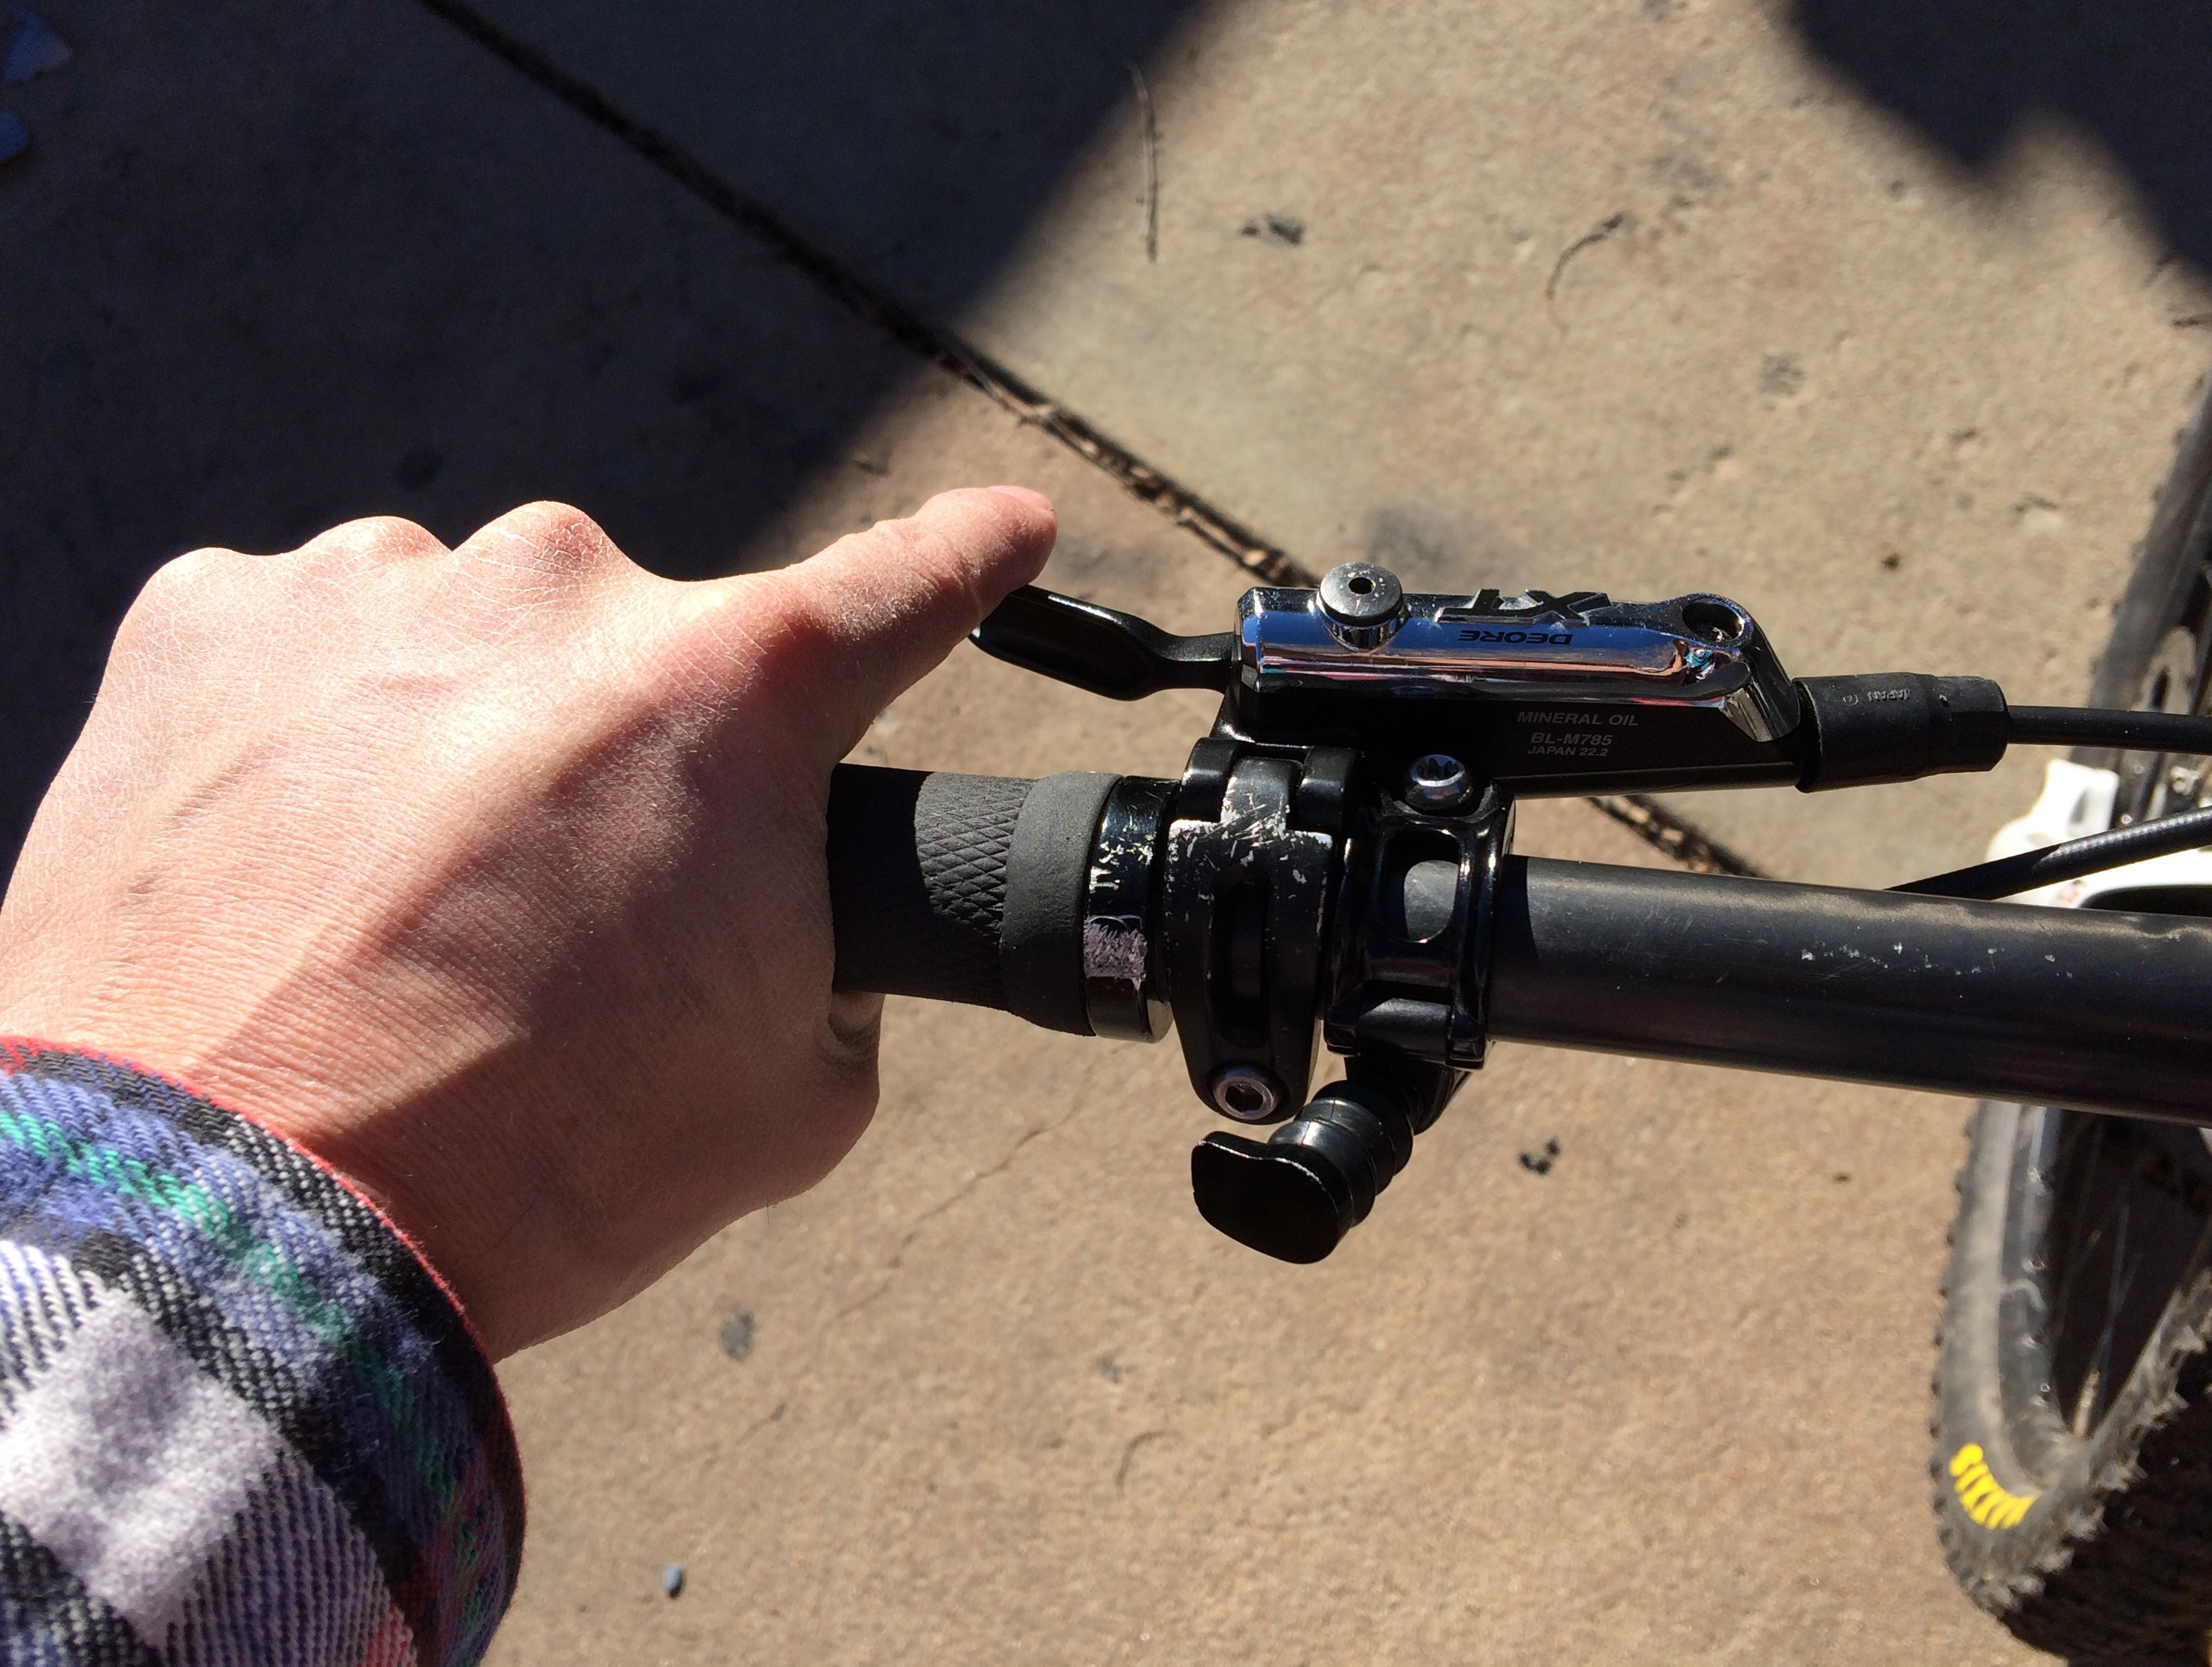
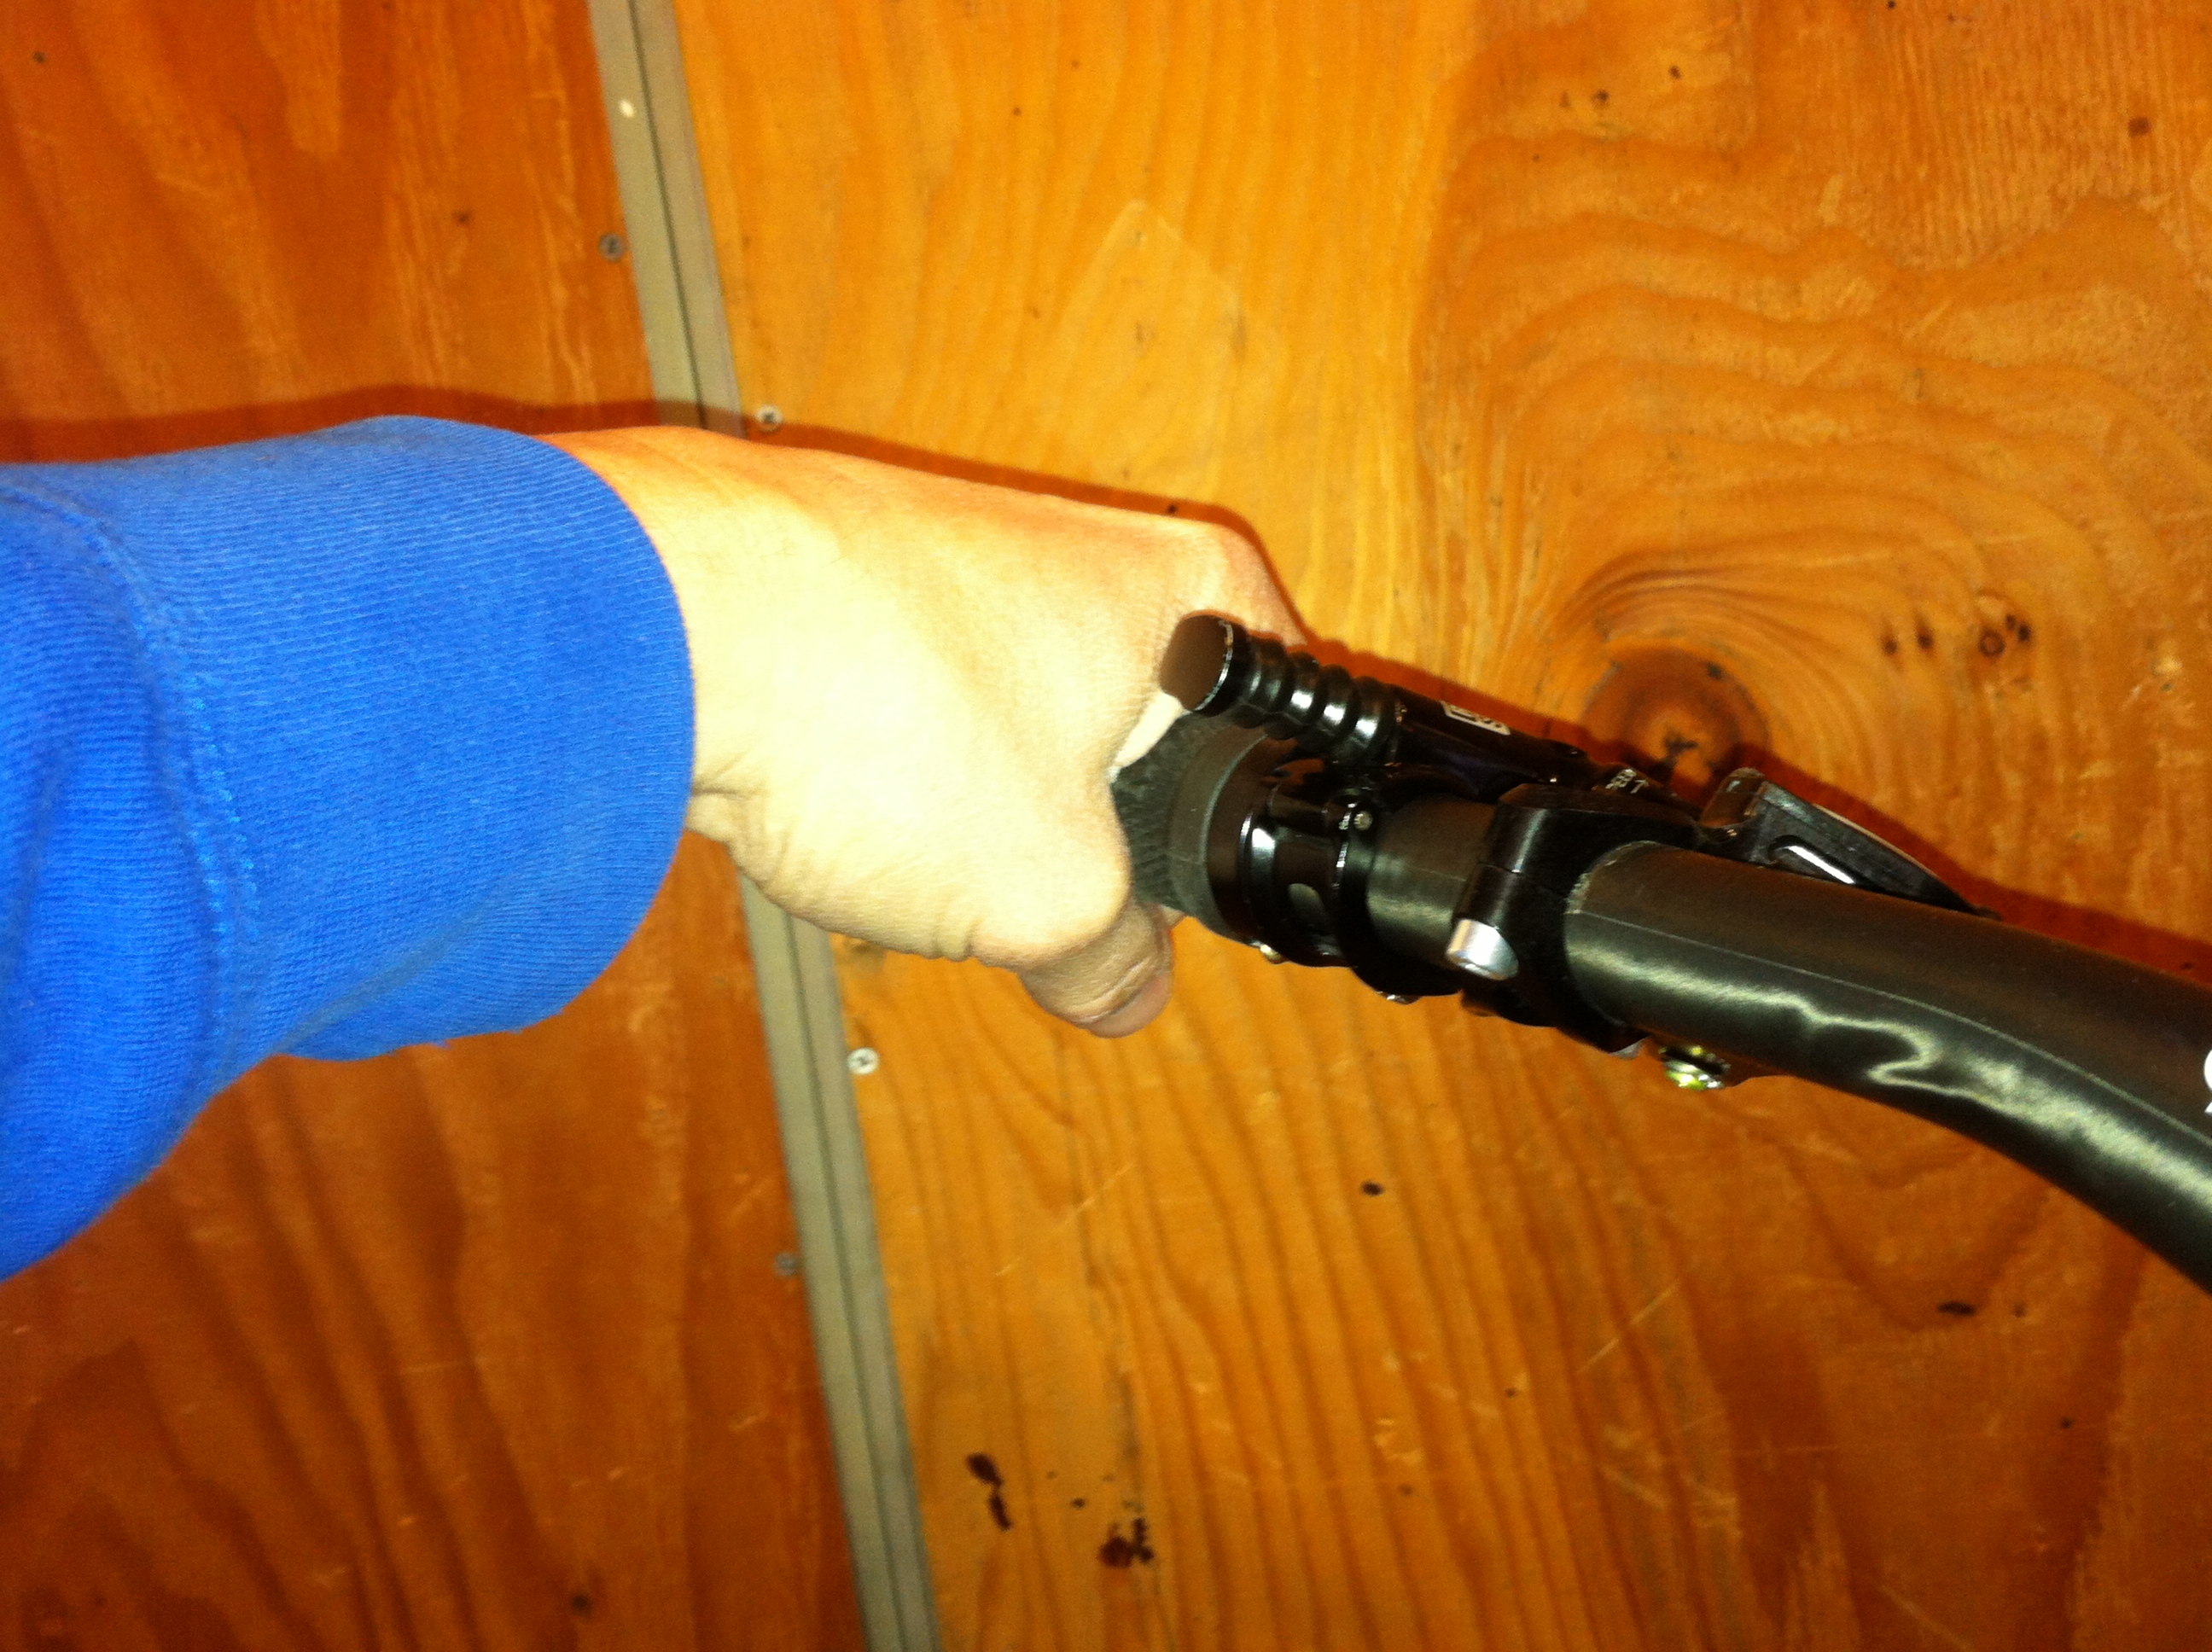
These two photos show the rider being able to easily reach the Remote Lever (no front shifter because of the 1x drive train set-up).
If the rider is using a 1x drive train (one chain-ring in front: no front derailleur or shifter—as in the photos above), then mounting the remote on the left side clearly makes more sense because there is more room there due to the lack of the front shifter. But another huge advantage to this is that once a rider gets comfortable using the dropper post (which doesn’t take very long) they will start using the dropper post (with the left hand) at the same time that they are shifting the rear derailleur (right hand). This would not be possible with both the remote and rear shifter mounted on the same side. Example: the rider crests a hill spinning a relatively easy climbing gear; the rider should be looking ahead on the trail, gauging the approaching downhill with proper vision techniques and anticipating that the next time that they will pedal, they’ll be going quite a bit faster; thus, they’ll drop multiple gears anticipating the increase in speed. These last few cranks to drop the gears, while cresting the hill, will often be happen at the same time that the rider is dropping the seat, getting ready for the descent.
Not a big deal is you aren’t concerned with going fast, but every little bit counts if you are (and that includes racing, trying to keep up with your buddies, or just pushing yourself…”death by paper cuts!!!”).
But lots of riders do still run front shifters (left side of bars), so does that make it impractical or defeat the purpose of running the post remote on the left side of the handle bars? Not at all, in this case, you should set-up the front shifter in-board of the post remote. Why? Because you seldom shift with the front derailleur anyway (unlike the rear, which gets lots of use), and once you get comfortable with the dropper, you’ll be using it way more then you will the front shifter.
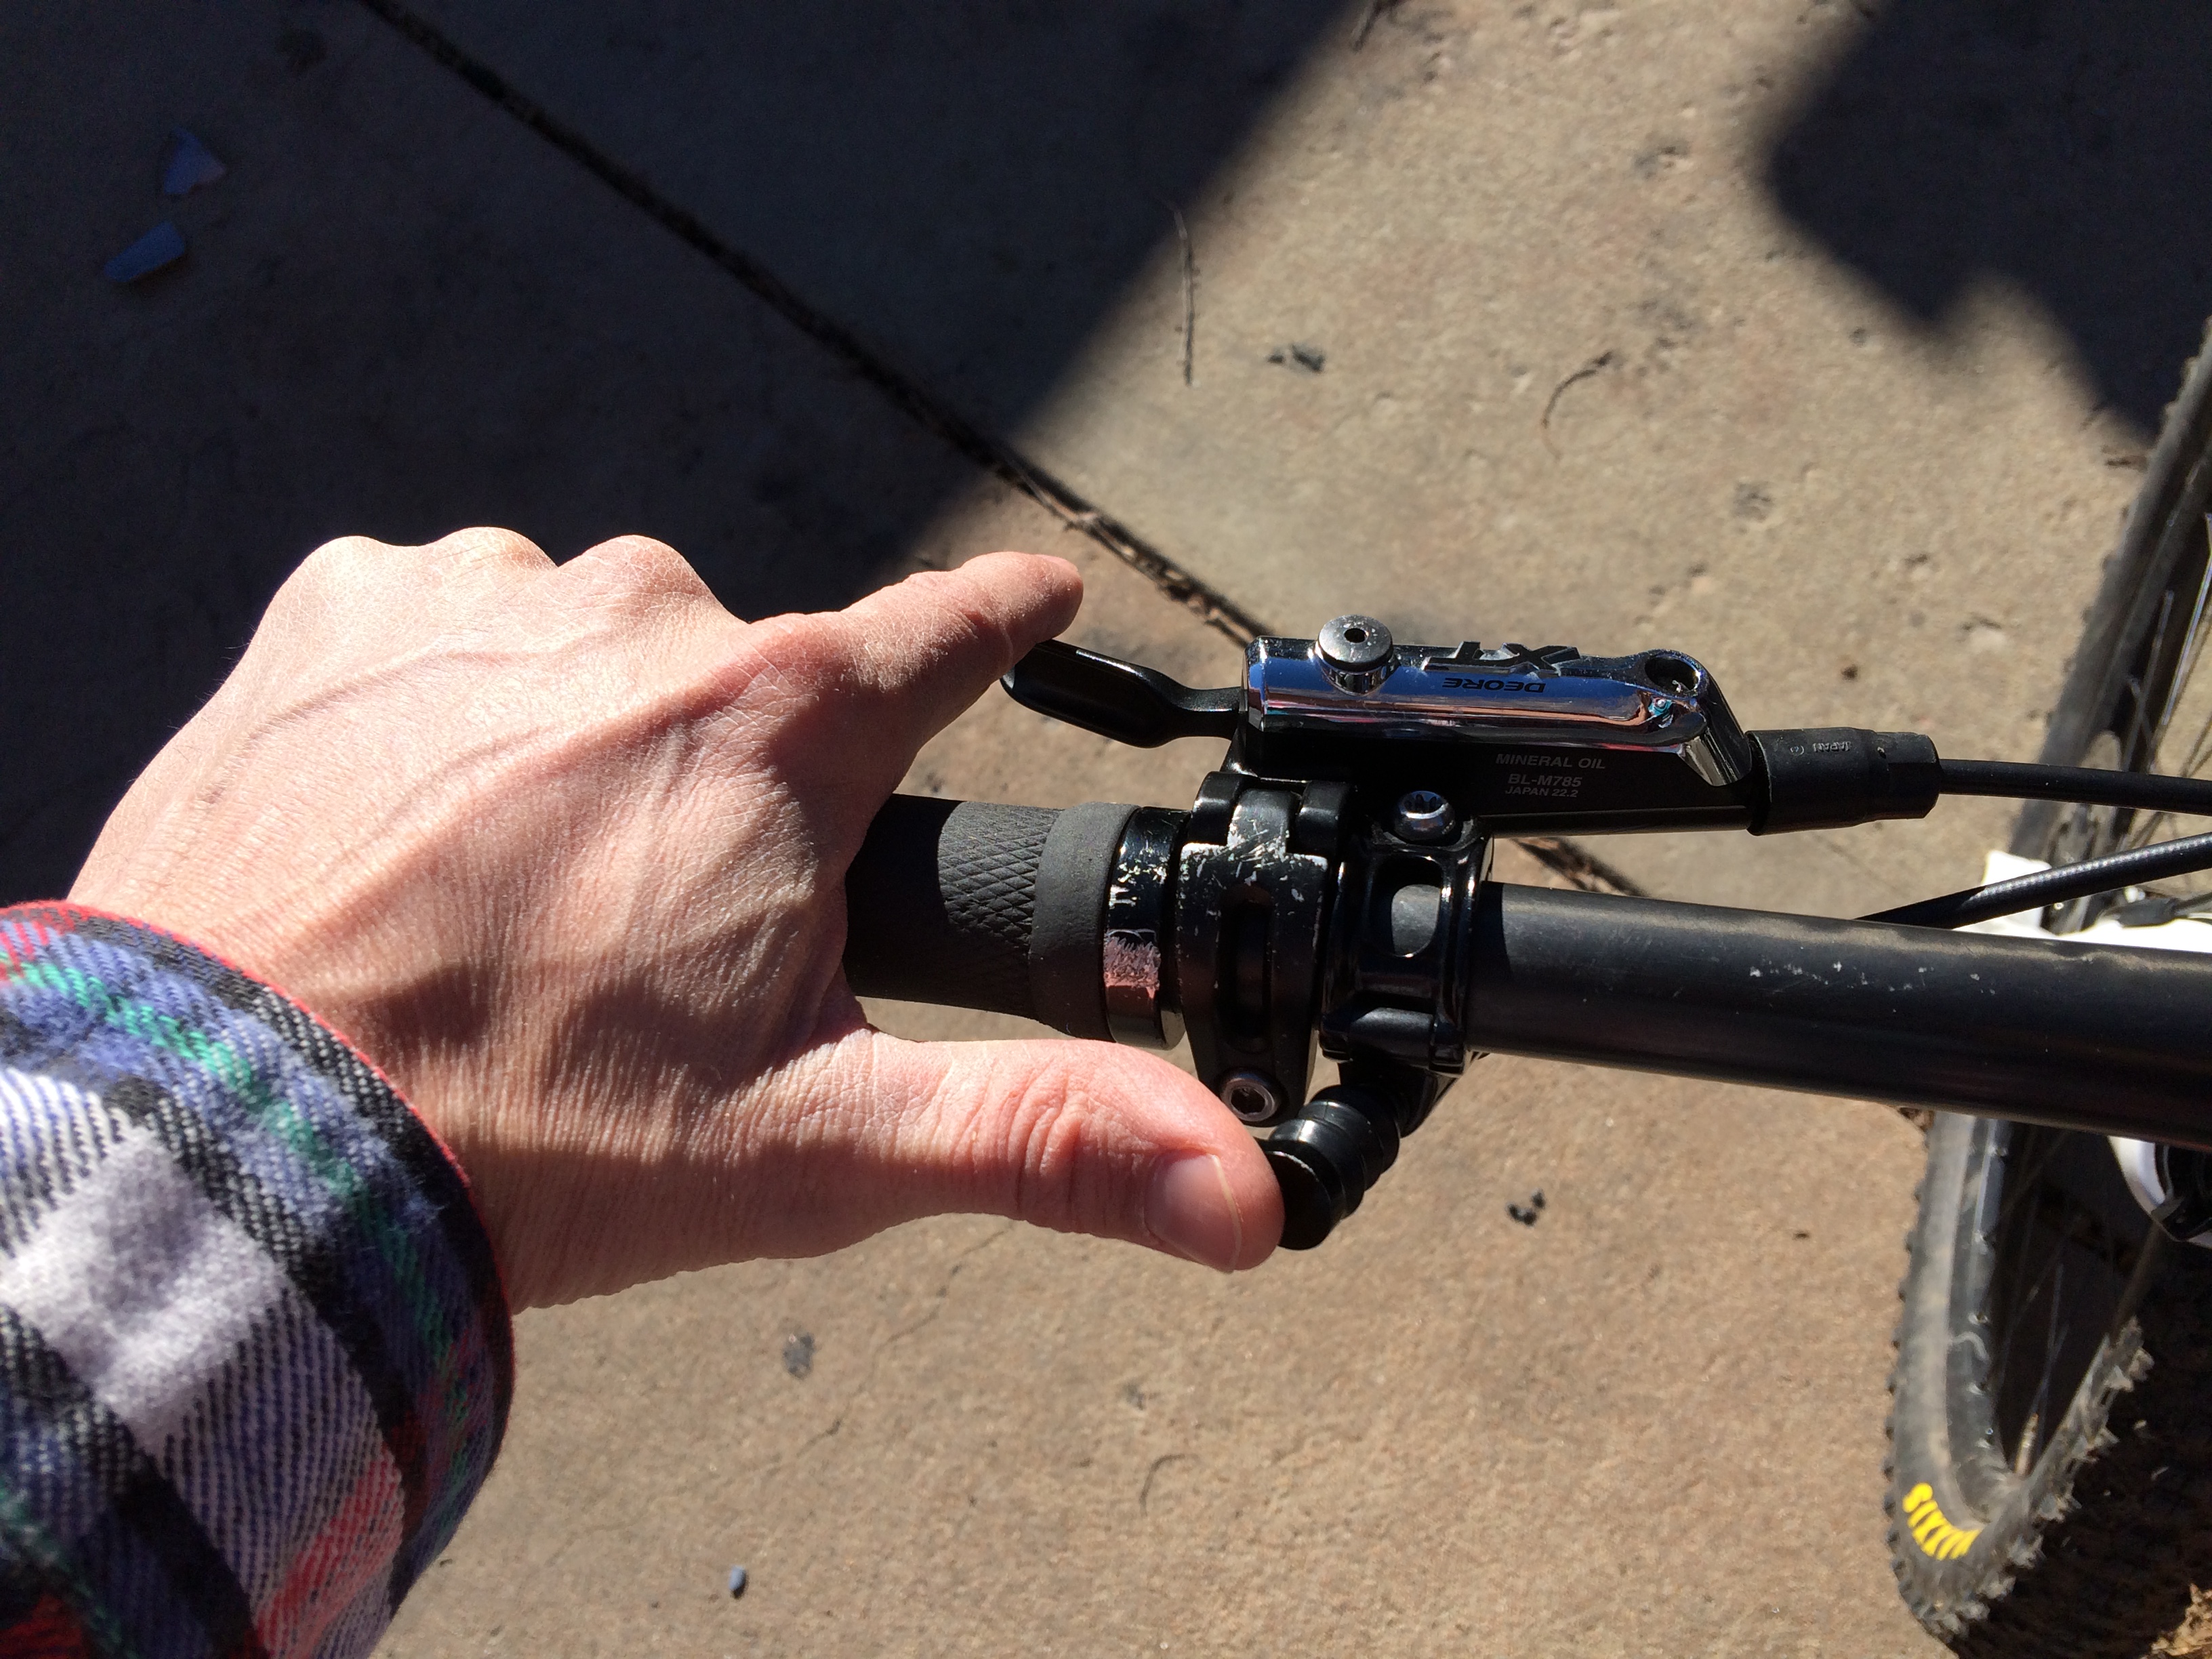
These photos show the remote lever mounted on the left side and under the bar. The top photo shows the lever actually mounted right next to the grip (sometimes necessary for small hands). The bottom photo shows the lever mounted between the brake and shifter. The rider will not be able to reach the front shifter in either case, but that’s OK (reasons in text)… Notice the two different styles of lever.

Another thing that I frequently see that isn’t so great (and this pertains mainly to the RockShox Reverb post, which is probably the most popular dropper post out there so it’s worth mentioning) is when the remote is mounted on top of the bar instead of underneath it. This isn’t so good because A) it’s more difficult to reach then if it were below the bar. B) You stand way more of chance of slipping your hand off of the grip and losing control if your thumb needs to go above the bar to activate the remote rather then stay below it. C) It ‘s much more vulnerable to damage in a crash if it’s mounted above the bar. (The trick here is to run the remote that is intended (by RockShox) to be mounted on top of the bar on the right side, upside down on the left side below, the bar.)
Pretty good, but could be better… The lever will be easier to reach, safer to activate, and more protected if mounted under the bar.
There are many people out there—myself included—that believe that dropper seatposts are the all-time greatest equipment innovation in mountain biking. I incessantly use this piece of equipment on the trail: any trail feature that requires even the least bit of bike handling prowess warrants some manipulation in seat height. When the dropper seatpost is set-up properly, then this literally becomes second nature. However, if it isn’t, you simply can’t maximize the benefits of this awesome piece of equipment.