
Getting Air, Drop-offs, and Switchbacks
Getting air, drop-offs and switchbacks… three things many students mention when we discuss their goals with MTB instruction and coaching.
The thing is, “Getting air, drop-offs and switchbacks” are some of the most difficult features/actions that we’ll encounter on a MTB trail, however there isn’t any rocket science to pulling them off successfully. It’s all about the basics, the fundamentals…but, it’s crucial to execute these basics and fundamentals – to near perfection – on these difficult and, very often, high consequence trail features.
Below, we’ll look at one those difficult trail features I mentioned earlier: the dreaded nasty, tight, up-hill switch back with a water-bar, a big rock, and a root, all present (of course, this is steeper than it looks in the photos). While I simply can’t teach the techniques here in this article, I will address many of the very basic techniques that need to be present in order to successfully ride these features. These are the crucial keys to riding well at any level, whether that means just feeling safe and comfortable on the bike, or going mega fast (although, in this case–uphill switchbacks–no one will be going mega fast).
Riders are always looking for some far-out technique that will magically wisk them up the switchback. But, really, the techniques for successfully ascending a tough uphill switchback are exactly the same as the techniques that we need to use when tackling a tough ascent in a straight line (here’s a article that breaks down body position on tough technical climbs). These include properly reading the trail and proper line choice; correct body position; correct weight placement; being in the right gear/proper pedal cadence so that we can accelerate the bike in order to wheelie (it’s not about simply yanking up on the bars) or at least lighten the front end, accelerate to gain more momentum, unweight the rear wheel by getting off of the seat, and perhaps time our pedal stroke–or “ratchet pedal”– in order to not smack the pedal on an obstacle (many of these techniques are address in the Pedal Wheelie Video).
We can look at each one of the techniques that I mentioned above and then break the technique down into a couple/few simple movements and proper timing. We do this in every camp. And, in every camp, every rider has success and learns each technique in a very controlled and safe setting. But the issue with a good (bad?) switchback is that–for a real nasty one–often all of these techniques will have to be executed, in succession or sometimes simultaneously, and often on the side of a cliff (the switchback is there for a reason!). Also, what makes switchbacks hard is that these techniques need to be done well while turning a tight 180 degree turn, so the rider has very little momentum. Very few riders understand how crucial it is to be able to ride under control, comfortably, and confidently at very slow speeds. We work a ton on this in the camps. This is hard to do well.
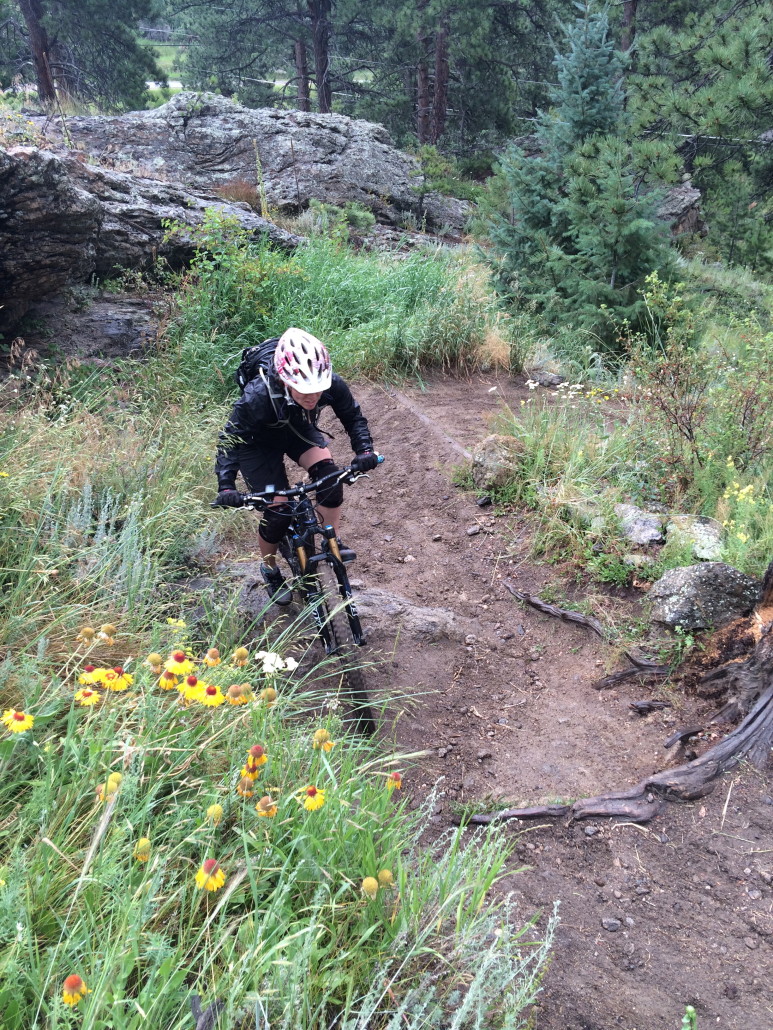
So let’s take a look at this thing…
What you can’t see in the above photo is that Julie took an excellent line going into the switchback. This is very important. She started her turn wide and late and is actually almost done turning at this point and has an almost straight shot at that rock (the rock is steeper than it looks in the photo, too). “Setting up” for switchbacks and corners is usually a great thing because not only is it going to give you the smoothest arc and smoothest momentum path, but it allows you options in line choice as you exit the corner/switchback. (Not quite the same…but similar: Video on Descending switchbacks and proper line choice.) Also, it’s tough to read the trail properly and take the correct line in this switchback because of that water-bar that Julie’s rear wheel has just cleared. Why? Because almost all riders won’t look past the water-bar as they approach it. They ride whatever is right in front of them without regard for the rest of the trail and what will be coming up next. In this case, they ride straight into the water-bar…maybe they make the water-bar, but they end up pointed way too wide and never make the turn because their bad line choice made the turn too tight after the water-bar. This its typical of the incorrect way that riders read and “micro manage” the trail. We need to use proper trail vision and “macro manage” the trail–in all situations–if we want to ride well. We cover this extensively in camps (here’s an article on Trail Vision). And, that water-bar requires a little wheelie for the front wheel and a little un-weighting of the rear to get the back wheel up and over. These techniques are simple and even easy–if done properly–in a controlled and safe setting (and, of course, covered in camps), but as is the case with this switchback, now they have to be done while turning and on a very steep section of trail: basic technique, just more difficult terrain.
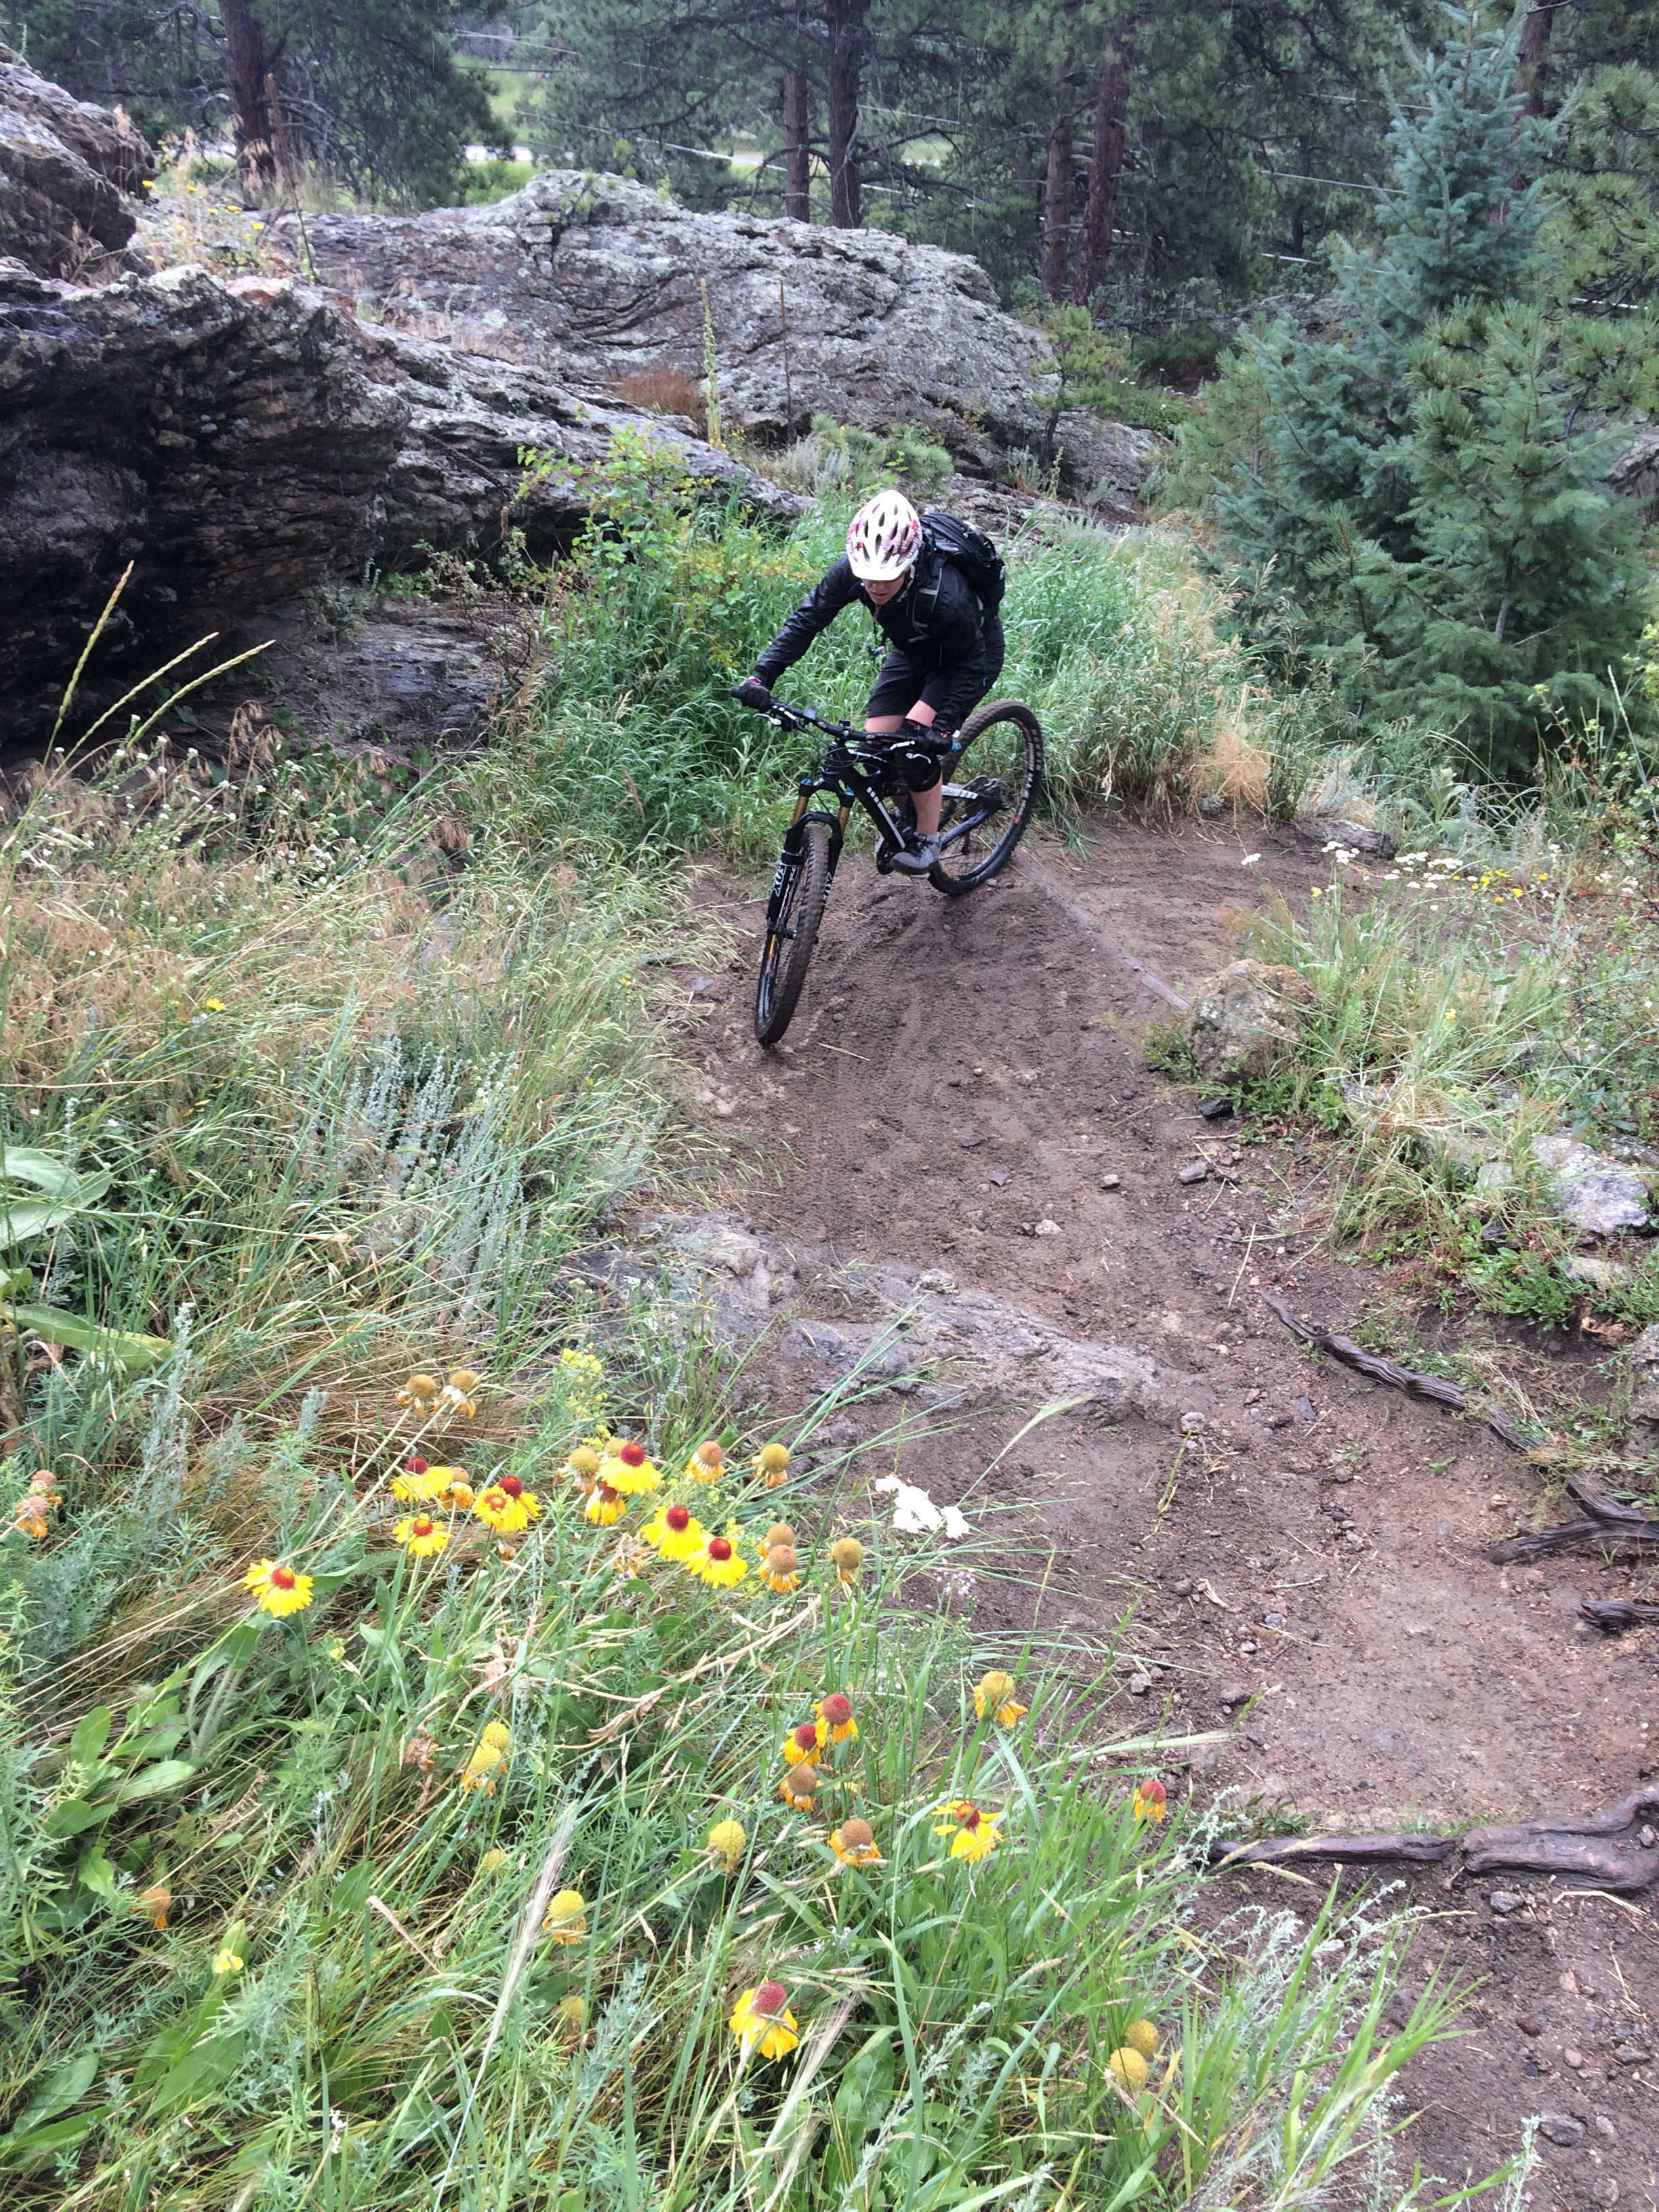
So now let’s look at that rock…
In the above photo, there are multiple things going on, but again, all basic techniques that are covered extensively in the camps… One thing that is happening is that Julie is accelerating to gain momentum to help get over the rock. Easy right? Well, most riders can’t accelerate the bike at this point because they simply are in the wrong gear (too easy). Most riders simply don’t understand that tough technical climbs require us to slow down our pedal cadence, so that we can increase the cadence at the right time and accelerate. If you’re already “spinning a high gear”–as is the traditional advice for climbing–you simply can’t pedal any/much faster, and thus, can’t accelerate and gain momentum. There are many other problems with having a high pedal cadence on technical climbs and we cover all of them in camps. On smooth sections of trail, while your butt is planted on the seat? Sure, by all means, spin that high and efficient cadence–just like you would on the road. But once we get into nasty terrain on the trail, that cadence has to slow down ( many of these reasons are addressed in the Pedal Wheelie Video).
Another thing that has to happen here is proper weight placement. Julie has her weight properly centered over the bottom bracket of the bike. This allows the bike to pivot around the BB and allows both wheels to roll up and over the inconsistencies on the surface of that rock. Most riders end up with their weight too far back on climbs (too far forward on descents) with their weight on the seat (on their butt) of the bike. This means that the front of the bike ends up too light (give you a case of the “swervies” as the front wheel deflects and bounces off line) and the back end is too heavy and therefore will not roll up and over obstacles, but instead gets hung up, slides to the side, or perhaps spins because the rider is trying to incorrectly apply power where there is no traction (Spinning out is usually a result of this. If a rider spins out, instead of leaning back–which is common advice but entirely wrong–the rider should have accelerated below the obstacle and lightened up the rear wheel instead of trying to “power over” the obstacle…all addressed in camps).

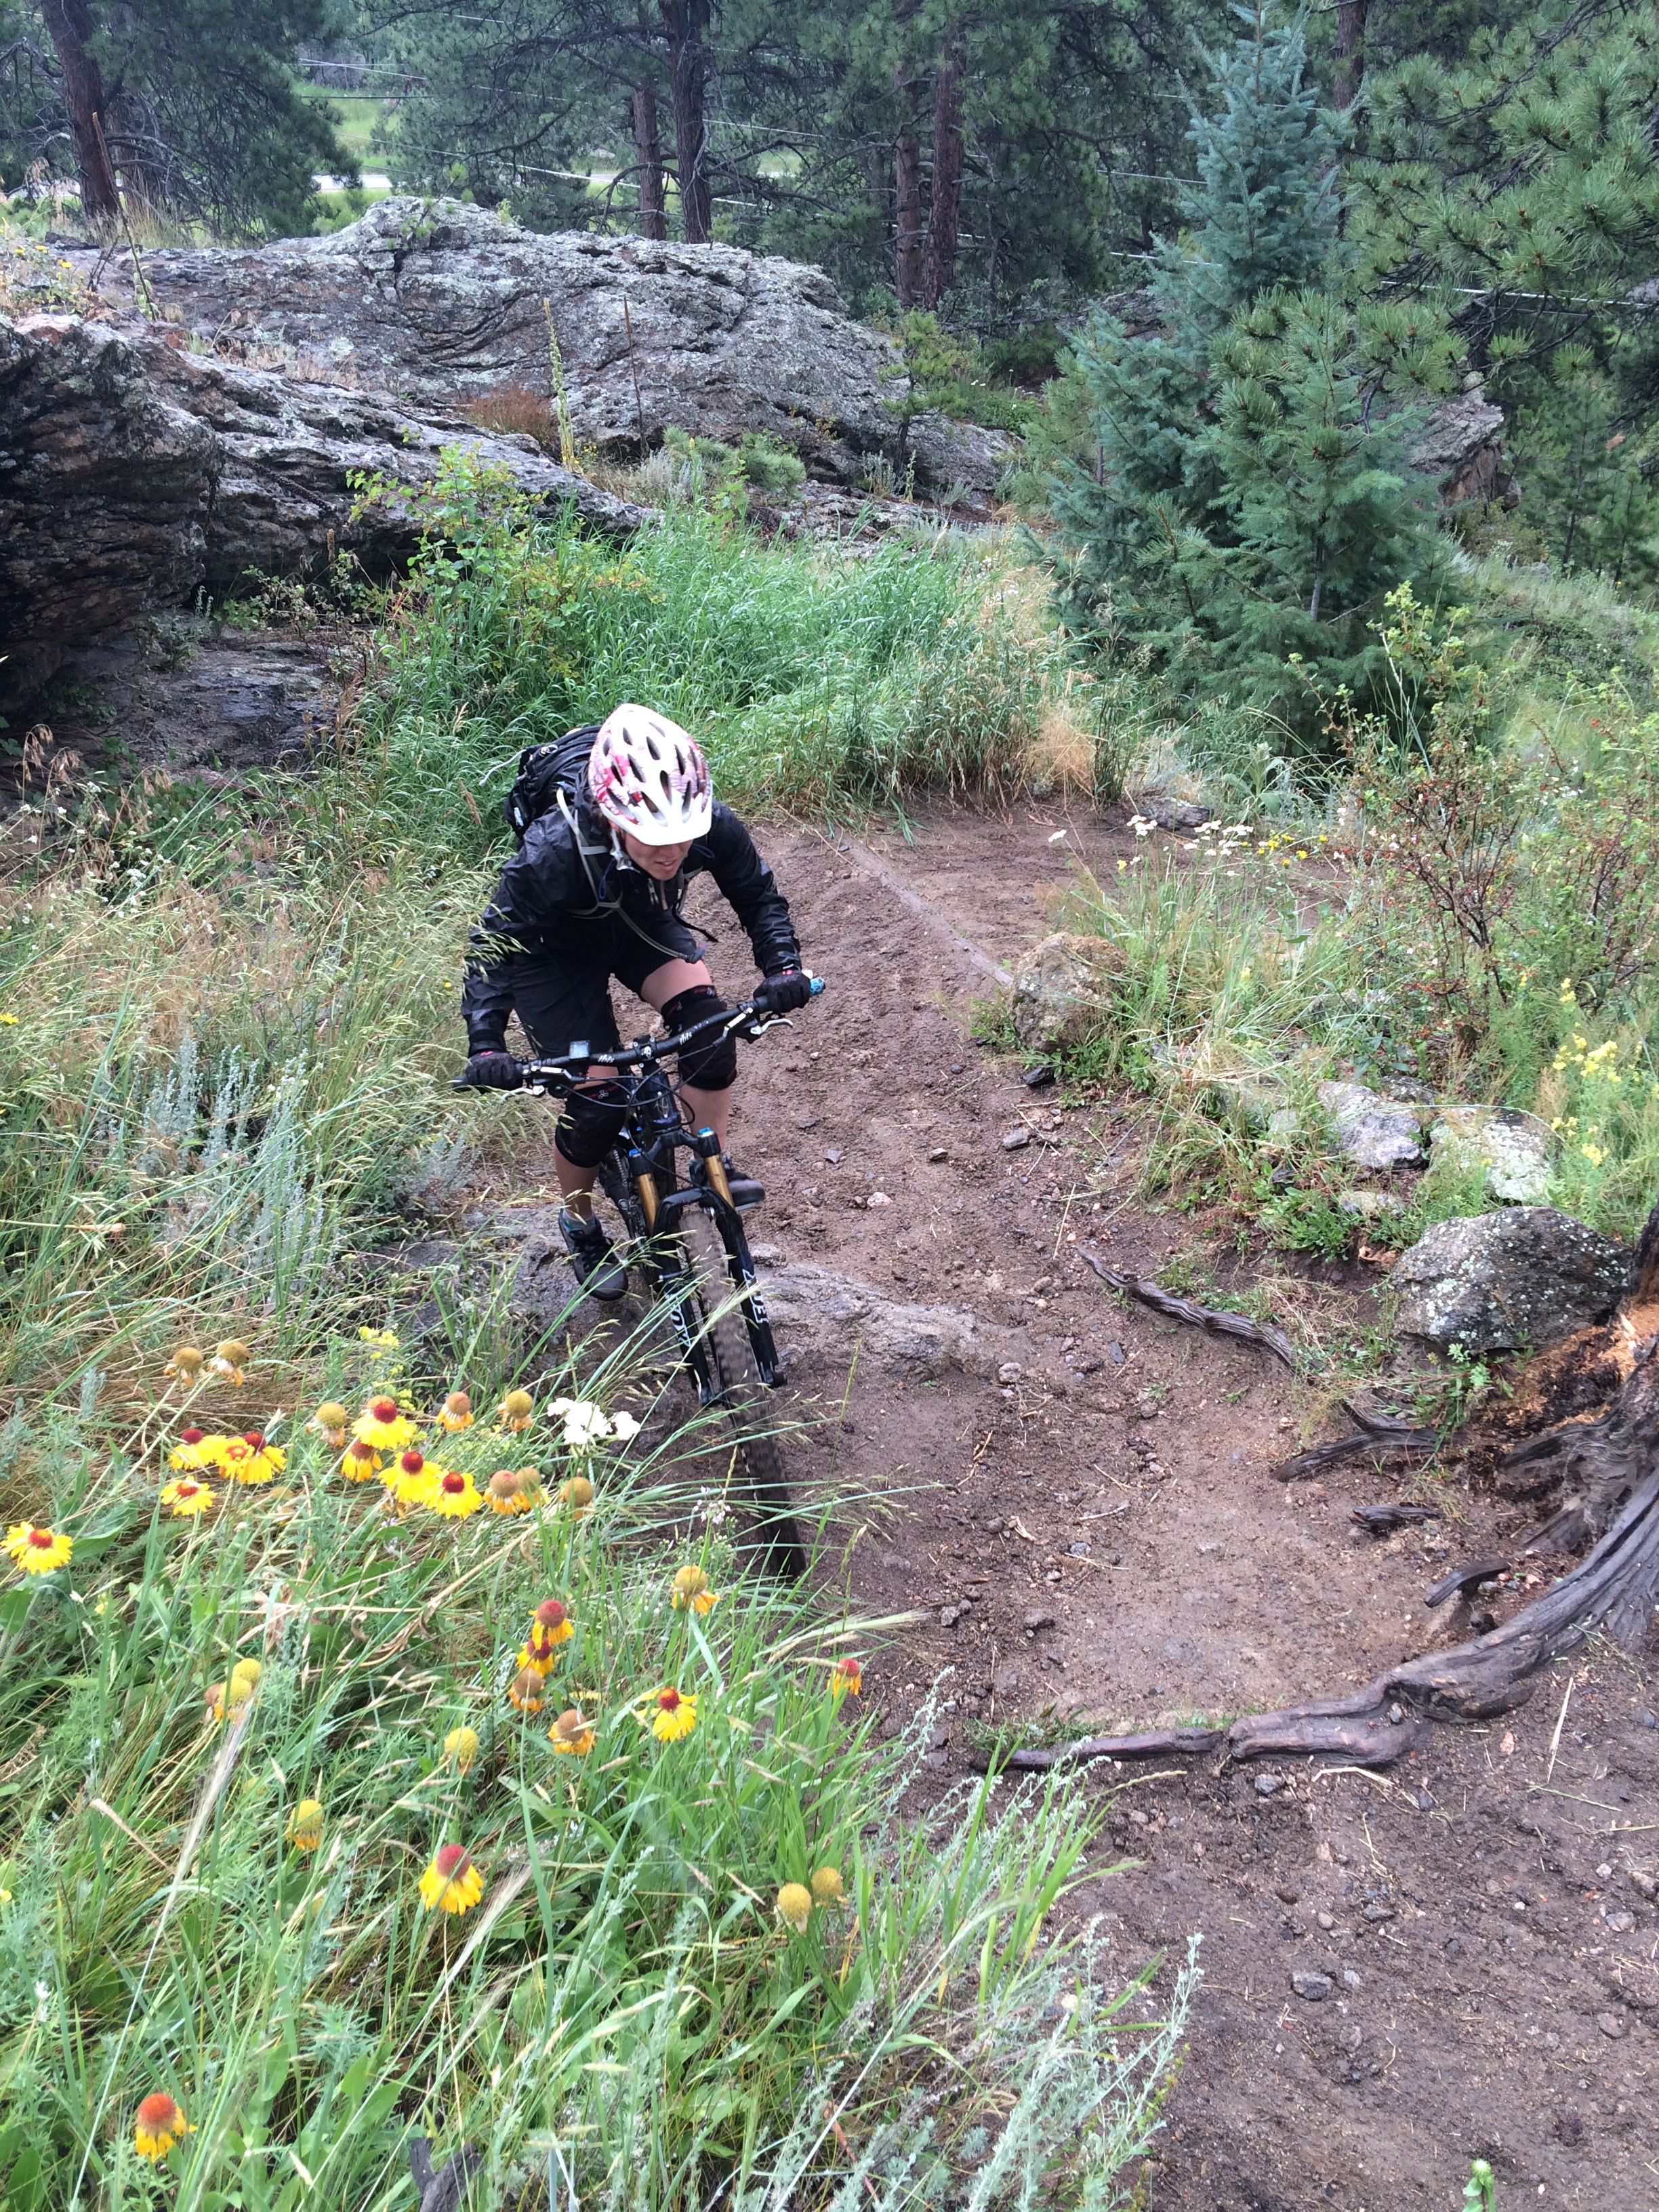
Success! In this photo, Julie has made it! She has employed all of the crucial techniques of the pedal wheelie over that root…and that root is in a switchback where she took a good line…which, in addition to that rock and the water-bar, and the 180 degree turn…and the steep terrain… make the switchback tough. This photo really shows how Julie has un-weighted the rear of the bike after immediately lightening the front with the pedal wheelie. It looks as if her weight is forward in the photo, but it’s actually on the BB (the trail is steep). Because of this, the rear wheel will “float” up the root and she won’t get jarred and thrown off balance when the rear wheel abruptly changes direction (form horizontal, to up, back to horizontal) as she would if she were sitting on the seat.
Again, I can’t teach all of the techniques that go into mastering uphill switchbacks via this blog post…that’s what the camps are for. But, I think this does give a pretty good break down of what it takes to make the gnarly SB’s and it’s all basic stuff…just doing it correctly and effectively…no magic!
If you like this stuff, you’ll love actual coaching and instruction. Make the best investment that you could ever make in your riding and sign up! If you don’t see a clinic scheduled near you, hit me up, and we’ll see if we can get one in your area. Also, please, share with your friends!


Leave a Reply
Want to join the discussion?Feel free to contribute!